How to Prep Your Garden Beds for Fall Planting
My first fall as a gardener, I ripped out my dead summer tomato plants in October, tilled the soil once, and planted garlic straight into it without doing anything else.
Half of that garlic rotted over winter. The other half came up stunted and small the following summer.
I spent the next year reading everything I could find about soil health, and I realized fall prep isn’t a single afternoon task. It’s a sequence, and skipping steps is exactly what cost me that garlic crop.
The next fall I followed the full process, start to finish, and the difference the following spring was obvious before I’d even harvested anything. Stronger seedlings, fewer pest issues, and soil that actually held moisture instead of turning into dust by July.
Here’s the complete process I use every fall now, step by step, so your beds go into winter set up for a strong spring instead of just cleared out and forgotten.
Why Fall Prep Matters More Than People Think
A lot of gardeners treat fall as cleanup season and save the real prep work for spring. That backwards approach costs you more than most people realize.
- Soil biology, the microbes and fungi that build healthy soil, are most active in fall temperatures, which means amendments added now get worked into the soil naturally over winter
- Cool season weeds germinate in fall regardless of what you do, so beds left unprepped become a weed seed bank by spring
- Disease and pest larvae overwinter in old plant debris, so what gets left behind in October directly affects what you’re fighting again in June
- Soil structure damaged by summer compaction needs time to recover, and that recovery happens far better over a slow winter than a rushed spring
- Cold-hardy crops and garlic specifically need a fall planting window that closes fast once the ground actually freezes
Treating fall prep as seriously as spring planting is the single biggest shift that changed my garden’s results.
1. Clear Out Spent Summer Plants Completely
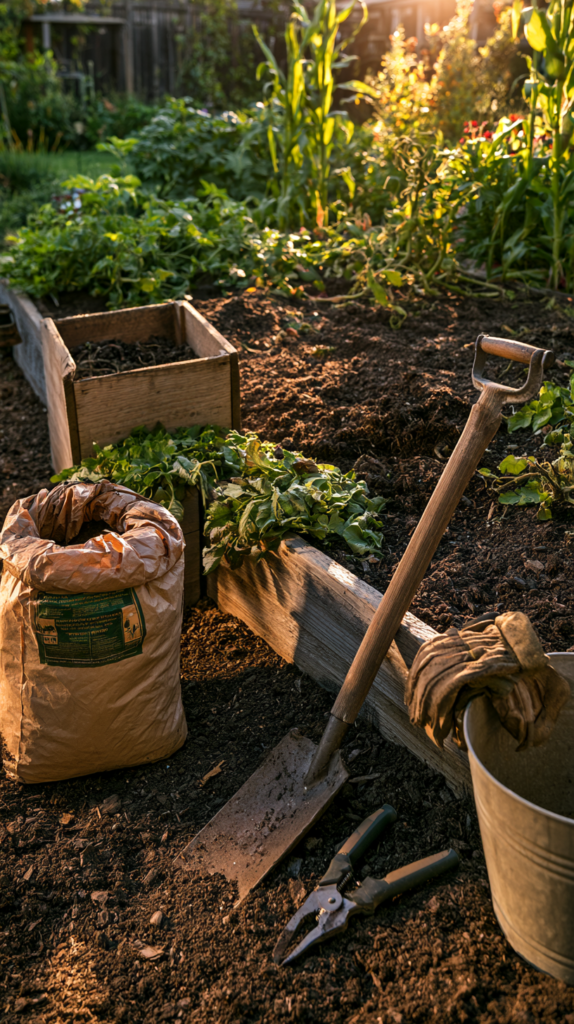
The first step is removing everything from your summer growing season, but how you remove it matters as much as doing it at all.
How it comes together:
- Pull entire plants, roots included, rather than just cutting stems at soil level
- Separate healthy plant material from anything showing disease, mold, or pest damage
- Compost healthy debris in your regular pile, but bag and dispose of diseased material separately
- Cut larger plants like tomato vines or corn stalks into smaller pieces before composting to help them break down faster over winter
Why it matters:
- Roots left in the ground can harbor overwintering pests and diseases even if the visible plant looks fully removed
- Diseased material added to a home compost pile rarely reaches temperatures high enough to kill pathogens, which just reintroduces the problem next season
Timing:
- Start as soon as a plant stops producing, rather than waiting for a single big cleanup day once everything has died back
Tools needed:
- A digging fork works better than a shovel for lifting root balls without shredding roots into the soil
Common mistakes:
- Leaving root systems in the ground because the top growth looked dead already, which still leaves disease and pest habitat behind
Budget: $0 if you already own basic hand tools
2. Test Your Soil Before Adding Anything
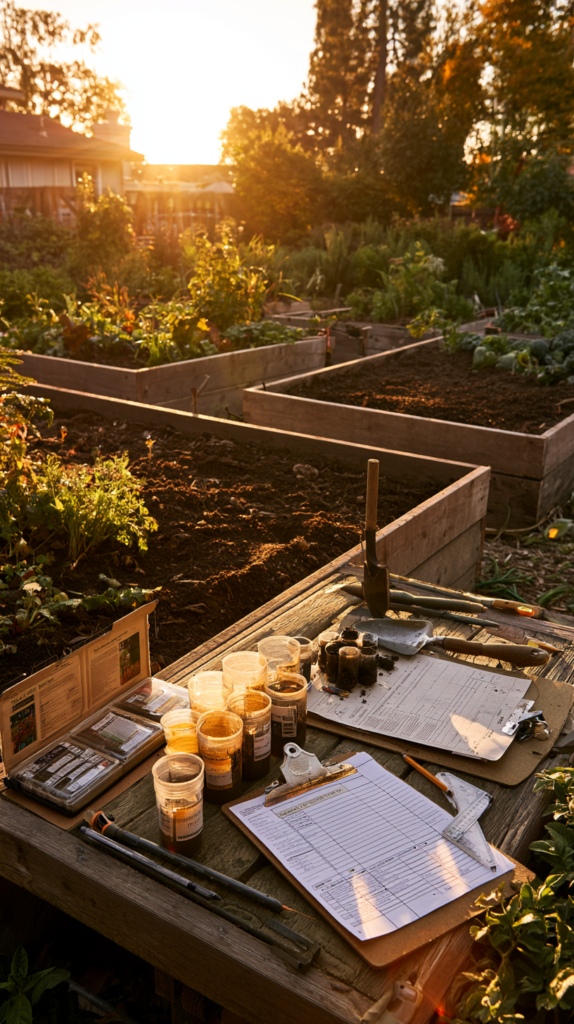
Amending soil without testing it first is one of the most common ways gardeners waste money and effort on the wrong fixes.
How it comes together:
- Use an at-home soil test kit for a basic pH and nutrient reading, or send a sample to your local extension office for a more detailed breakdown
- Take samples from three or four spots in each bed, then mix them together for one combined reading per bed
- Test at a depth of four to six inches, not just the surface layer, since surface soil often reads differently than root-zone soil
- Record your results by bed so you can compare year to year and track whether your amendments are actually working
Why it matters:
- Adding lime to soil that’s already alkaline, or nitrogen to soil that’s already nutrient-rich, can actively hurt next year’s plants rather than help them
- A proper baseline reading turns fall amending from guesswork into a targeted, effective process
Timing:
- Early fall, before amendments go in, so results can actually guide what you add
Tools needed:
- A basic soil test kit runs $15 to $25, or many extension offices offer lab testing for $10 to $20 per sample
Common mistakes:
- Testing only once and assuming the results apply to every bed in the garden, when soil composition can vary significantly even within the same yard
Budget: $15–$60 depending on how many beds you’re testing and whether you use a home kit or lab service
3. Remove Weeds by the Root, Not Just the Top Growth
Fall weeding is more important than most gardeners realize, since weeds left standing now go to seed and multiply your workload dramatically come spring.
How it comes together:
- Hand-pull weeds while soil is still soft from fall rain, rather than waiting until it’s compacted from cold weather
- Use a hoe or hand cultivator for smaller weeds across a larger bed area to save time
- Bag and dispose of any weeds that have already gone to seed, rather than composting them
- Do a second pass two to three weeks after the first, since fall conditions often trigger a fresh flush of weed germination
Why it matters:
- A single weed left to go to seed can produce thousands of seeds that stay viable in soil for years
- Weeding now, while the ground is workable, is significantly easier than trying to weed frozen or compacted spring soil
Timing:
- Early to mid fall for the first pass, with a follow-up pass two to three weeks later
Tools needed:
- A simple hand cultivator or hoe, both under $20 if you don’t already own one
Common mistakes:
- Tilling weeds into the soil instead of removing them, which just buries viable seeds instead of eliminating them
Budget: $0–$20 if new tools are needed
4. Test and Correct Your Soil’s pH
Once you have your test results, correcting pH is usually the first amendment to address, since it affects how well plants can absorb everything else you add later.
How it comes together:
- Add garden lime if your soil tests too acidic, following the exact rate recommended for your specific soil type and test result
- Add elemental sulfur if your soil tests too alkaline, again following test-based recommendations rather than a general guess
- Work amendments into the top four to six inches of soil rather than just scattering them on the surface
- Retest in early spring to confirm the fall application actually shifted your pH into the target range
Why it matters:
- Most vegetables grow best in a slightly acidic to neutral range, and soil outside that range limits nutrient uptake no matter how much fertilizer you add later
- Fall application gives lime or sulfur months to fully react with the soil before spring planting, which is far more effective than a rushed spring application
Timing:
- Right after soil testing, early to mid fall, to allow a full winter for the amendment to take effect
Tools needed:
- A basic garden fork or tiller for working amendments into the soil
Common mistakes:
- Applying lime or sulfur without a test result to guide the amount, which can overcorrect and create a new imbalance
Budget: $10–$30 depending on bed size and the amendment needed
5. Add a Generous Layer of Compost
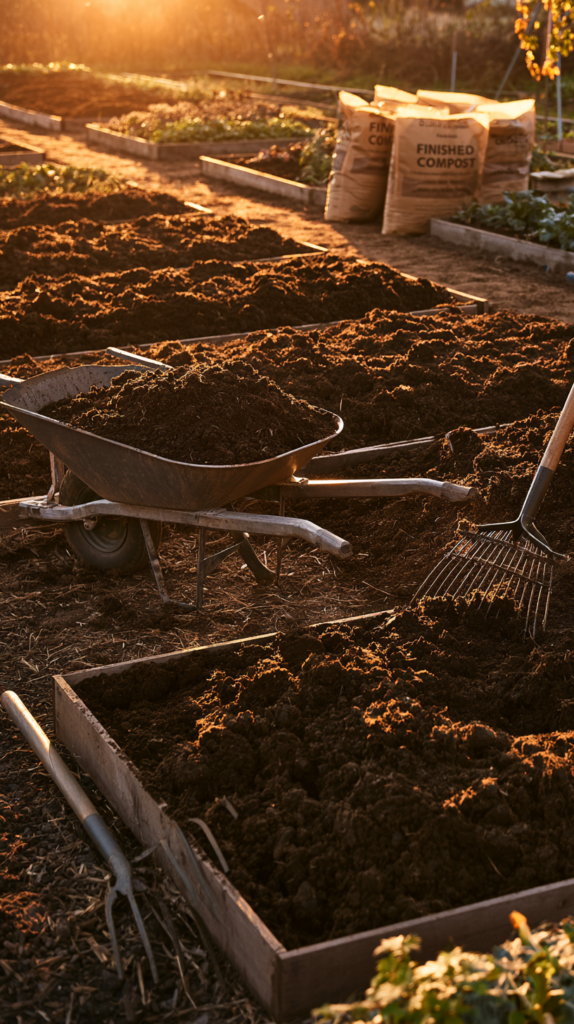
Compost is the single most valuable thing you can add to your beds in fall, since it improves structure, nutrition, and moisture retention all at once.
How it comes together:
- Spread two to three inches of finished compost across the entire bed surface
- Use your own compost if it’s fully broken down, or a bagged, finished compost product if you don’t have enough on hand
- Work the top inch into the soil surface, but leave the rest to break down naturally over winter rather than fully tilling it in
- Avoid partially finished compost, since it can rob nitrogen from the soil as it continues breaking down
Why it matters:
- Compost feeds the soil biology that’s most active during fall’s cooler temperatures, meaning nutrients get incorporated more effectively than a spring application
- Improved soil structure from compost helps beds drain better in wet years and retain moisture better in dry years
Timing:
- Mid fall, after weeding and pH correction are complete
Tools needed:
- A wheelbarrow and rake for spreading, plus a garden fork for light incorporation
Common mistakes:
- Using compost that isn’t fully finished, which can introduce weed seeds and tie up nitrogen your plants need
Budget: $20–$60 for bagged compost depending on total bed square footage, or $0 if using your own finished pile
6. Add a Layer of Mulch to Protect Soil Over Winter
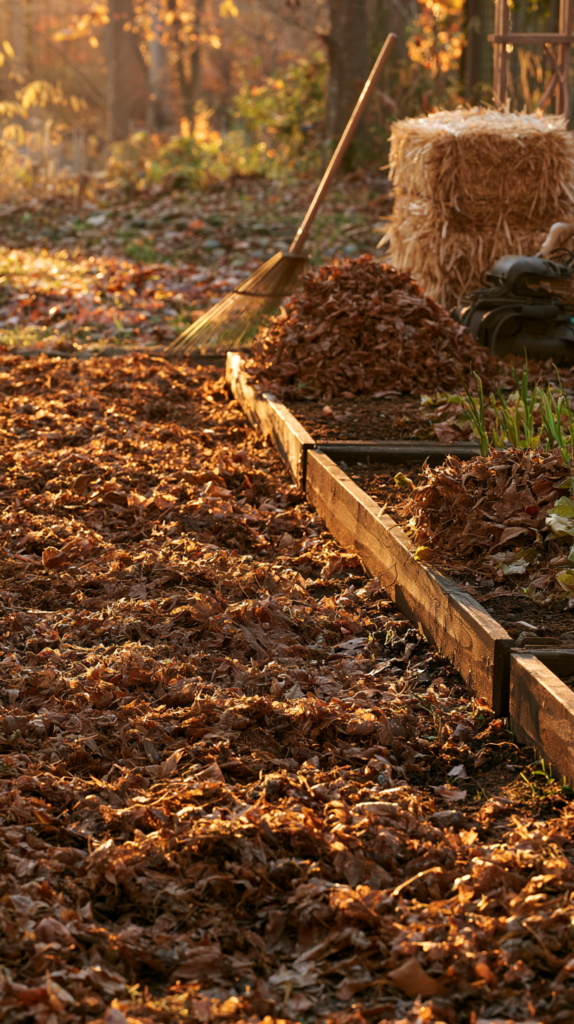
Bare soil left exposed all winter is vulnerable to erosion, nutrient loss, and temperature swings that can damage soil structure.
How it comes together:
- Spread two to four inches of shredded leaves, straw, or wood chips across the bed surface after compost has been applied
- Keep mulch pulled back slightly from any perennial crowns or emerging garlic shoots to prevent rot
- Use shredded leaves if available, since they’re free and break down into valuable organic matter by spring
- Add a thicker layer, closer to four inches, in regions with harsher winters for better insulation
Why it matters:
- Mulch regulates soil temperature swings that can otherwise damage soil structure and disrupt beneficial microbial activity
- A mulched bed suppresses winter weed germination far more effectively than bare soil
Timing:
- Late fall, after the first hard frost but before the ground fully freezes
Tools needed:
- A rake and a leaf shredder or mower for processing fallen leaves into a usable mulch size
Common mistakes:
- Piling mulch directly against plant stems or crowns, which traps moisture and encourages rot over winter
Budget: $0 if using leaves from your own yard, $30–$70 for straw or wood chips if purchasing
7. Plant Your Cold-Hardy Crops While the Window Is Open
Fall isn’t just about prepping beds for next year. Several crops actually need to go in the ground now to be ready for a spring harvest.
How it comes together:
- Plant garlic cloves in mid to late fall, roughly six weeks before your ground typically freezes
- Sow cold-hardy greens like spinach and kale if your region allows for a late fall harvest before frost shuts growth down
- Plant spring-flowering bulbs at the same time if you’re combining ornamental and edible fall planting
- Space garlic cloves four to six inches apart and plant pointed end up, about two inches deep
Why it matters:
- Garlic specifically requires a cold period to properly divide into cloves the following summer, which is why it must go in the ground in fall rather than spring
- Cold-hardy greens planted now often produce a final harvest before frost and can sometimes overwinter for an extra-early spring crop
Timing:
- Mid to late fall, calculated backward from your area’s average first hard freeze date
Tools needed:
- A trowel or bulb planter for consistent planting depth
Common mistakes:
- Planting garlic too early, which can cause premature top growth that gets damaged by the first hard freeze
Budget: $10–$25 for seed garlic depending on how many beds you’re planting
8. Address Soil Compaction Before It Gets Worse
Soil compacted from a summer of foot traffic and heavy watering needs attention now, since compacted soil restricts root growth and drainage.
How it comes together:
- Use a broadfork or digging fork to gently loosen soil without fully inverting it like a tiller would
- Focus on high-traffic areas first, like the edges of beds where you regularly step to reach plants
- Avoid working soil that’s still wet from recent rain, since this can make compaction worse rather than better
- Follow up loosening with a compost application to help rebuild structure over winter
Why it matters:
- Compacted soil limits how deep roots can grow, which directly limits how much water and nutrients a plant can access
- Fall loosening gives soil an entire winter to recover its structure before spring planting demands begin
Timing:
- Early to mid fall, before the ground gets too cold or wet to work effectively
Tools needed:
- A broadfork, which runs $60 to $150, or a standard digging fork as a lower-cost alternative
Common mistakes:
- Using a rototiller instead of a fork, which can actually create a compacted layer just below the tilled depth over repeated seasons
Budget: $0 if using existing tools, $60–$150 if investing in a broadfork
9. Plant a Cover Crop in Beds You’re Not Overwintering With Garlic
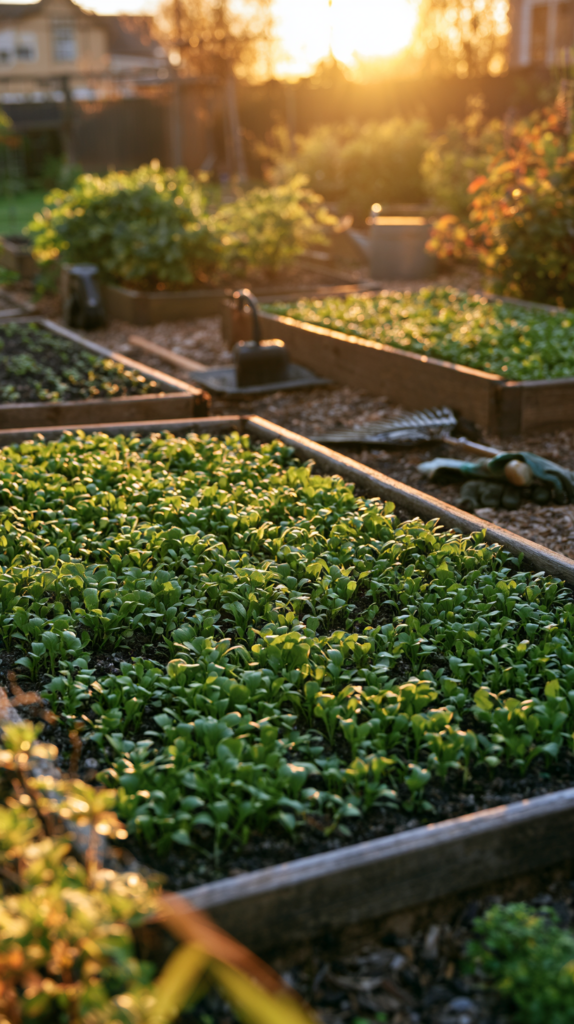
Any bed not being used for garlic or overwintering greens benefits enormously from a fall-sown cover crop instead of sitting bare all winter.
How it comes together:
- Sow a winter-hardy cover crop like crimson clover, winter rye, or hairy vetch by broadcasting seed evenly across the bed
- Rake seed in lightly and water if fall rainfall has been inconsistent in your area
- Allow the cover crop to grow through fall and into early spring before cutting it down ahead of planting
- Choose a legume-based cover crop like clover or vetch specifically if nitrogen fixing is a priority for that bed
Why it matters:
- Cover crops prevent erosion, suppress weeds, and actively add organic matter and nutrients back into the soil over winter
- Legume cover crops fix atmospheric nitrogen into the soil, reducing how much fertilizer you’ll need to add come spring
Timing:
- Early to mid fall, allowing enough time for the cover crop to establish before the first hard frost
Tools needed:
- A hand seeder or simple hand-broadcasting works fine for most home garden bed sizes
Common mistakes:
- Sowing too late in the season, which doesn’t give the cover crop enough time to establish before winter dormancy sets in
Budget: $10–$25 for enough seed to cover several garden beds
10. Clean and Store Your Garden Tools Properly
Tool care doesn’t directly affect your soil, but neglected tools cause real problems come spring, from rust damage to dull blades that tear roots instead of cutting cleanly.
How it comes together:
- Remove all soil from tools with a wire brush before storing them for the season
- Sharpen blades on pruners, hoes, and shovels while you have the downtime fall provides
- Apply a light coat of oil to metal surfaces to prevent rust over winter storage
- Store wooden-handled tools indoors or in a dry shed rather than leaving them exposed to winter moisture
Why it matters:
- Dirty tools stored over winter are far more likely to rust and degrade than clean, oiled ones
- Sharp tools next spring mean cleaner cuts and less plant stress during transplanting and pruning
Timing:
- Whenever you finish using each tool for the season, rather than saving it all for one big cleanup day
Tools needed:
- A wire brush, sharpening stone, and light machine oil, usually under $20 total if you don’t already own them
Common mistakes:
- Storing tools with soil still caked on them, which holds moisture against the metal and accelerates rust
Budget: $10–$25 for basic cleaning and sharpening supplies
11. Protect Perennial Beds With a Different Approach Than Annual Beds
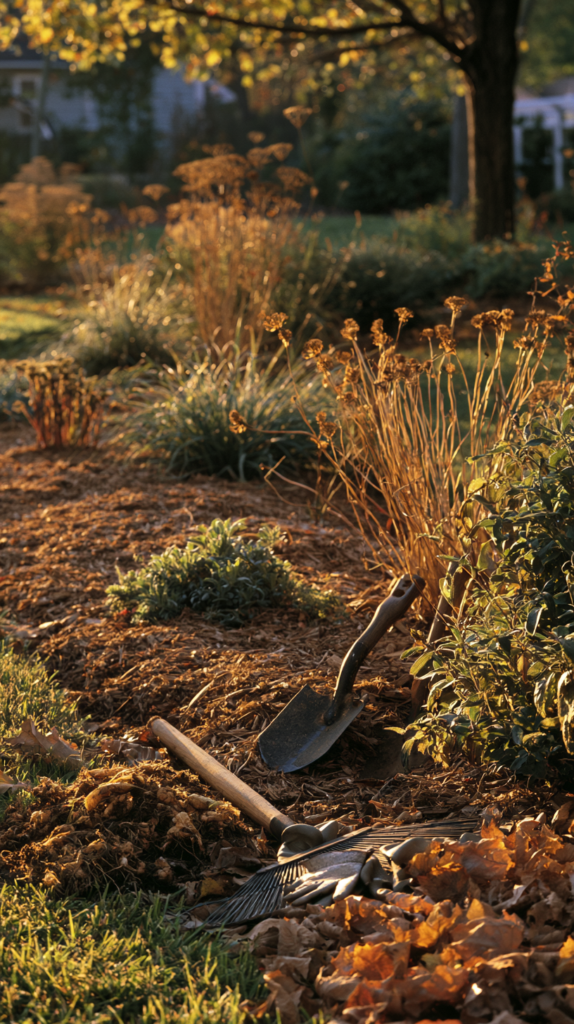
Perennial beds need different fall prep than annual vegetable beds, since the goal is protecting existing root systems rather than preparing bare soil for new planting.
How it comes together:
- Cut back dead foliage on most perennials, but leave some seed heads standing if they provide winter food for birds
- Apply a two to three inch mulch layer around the base of each plant, keeping it pulled back from the crown itself
- Divide overcrowded perennials in early fall if needed, giving new divisions time to establish roots before winter
- Avoid heavy fertilizing in fall, since this can encourage new growth that won’t have time to harden off before frost
Why it matters:
- Mulch protects perennial root systems from freeze-thaw cycles that can heave plants partially out of the ground over winter
- Fall division timing allows new root growth to establish while soil is still workable, without the stress of a hot summer transplant
Timing:
- Early fall for division, later fall for the final mulch layer after the ground has cooled
Tools needed:
- A sharp spade for division work, plus a rake for mulch spreading
Common mistakes:
- Cutting back and mulching perennials too early, before they’ve had a chance to finish storing energy in their root systems for the season
Budget: $0–$30 depending on whether new mulch needs to be purchased
12. Map Out Next Year’s Crop Rotation While Beds Are Fresh in Mind
Fall, while this year’s garden layout is still fresh, is the ideal time to plan next year’s crop rotation rather than trying to remember it come spring.
How it comes together:
- Sketch a simple map of which crops grew in which beds this year
- Group crops by family, like nightshades, brassicas, and legumes, to track rotation more easily
- Plan to move each crop family to a different bed next year to reduce disease and pest buildup tied to specific soil areas
- Note which beds received cover crops or heavy compost, since that affects what will grow best there next season
Why it matters:
- Many soil-borne diseases and pest larvae persist in soil for one to several years, and rotating crop families disrupts their life cycle
- Planning now, while this year’s layout is fresh, avoids the common spring mistake of forgetting exactly what grew where
Timing:
- Anytime during fall cleanup, ideally while doing the initial bed clearing so the details are still fresh
Tools needed:
- A simple notebook or garden planning app, no physical tools required
Common mistakes:
- Relying on memory alone instead of writing the rotation plan down, which usually leads to repeating the same bed assignments out of habit
Budget: $0, unless you choose to use a paid garden planning app
13. Check and Repair Bed Structures Before Winter Weather Arrives
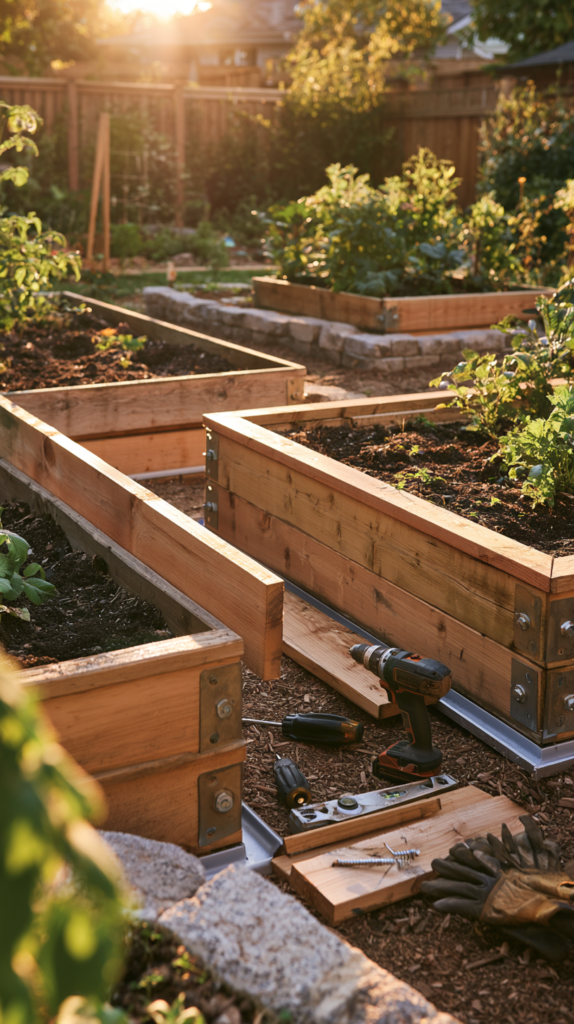
Raised beds and edging take a beating from a full growing season, and fall is the easiest time to catch and fix problems before winter weather makes them worse.
How it comes together:
- Inspect raised bed corners and joints for loosening or rot, especially on wood-framed beds
- Replace any rotted boards now, since wet winter conditions accelerate wood decay significantly
- Check that bed edging, whether metal, plastic, or stone, hasn’t shifted or been pushed out of place over the season
- Add extra bracing to any beds showing signs of bowing from a full season of soil pressure
Why it matters:
- A structural problem caught in fall is a simple repair, while the same problem left through a freeze-thaw winter often becomes a full rebuild
- Solid bed structure keeps soil, mulch, and amendments contained rather than washing out over winter storms
Timing:
- Early fall, before the ground freezes and before wood has a chance to sit in freezing, wet conditions
Tools needed:
- A basic drill, screws, and replacement boards as needed
Common mistakes:
- Noticing a loose board or shifted edging and deciding it can wait until spring, when winter weather usually makes the problem significantly worse
Budget: $20–$80 depending on how much repair material is needed
14. Do a Final Walkthrough Before the Ground Freezes
The last step is a simple, deliberate walkthrough of every bed to confirm everything is actually ready before winter fully sets in.
How it comes together:
- Confirm every bed has either a cover crop, mulch layer, or overwintering crop in place, with nothing left bare
- Check that garlic and any fall-planted bulbs are at the correct depth and haven’t been disturbed by animals or weather
- Verify mulch hasn’t been blown away from any exposed areas after a windy stretch
- Take photos of each bed’s final fall state, which becomes a useful reference when planning next year
Why it matters:
- A final check catches small issues, like a thin mulch spot or a disturbed garlic row, while there’s still time to fix them
- Photos taken now give you an accurate record to compare against in spring, rather than relying on memory for what was actually done
Timing:
- Right before your area’s first hard freeze, as the true final step of fall prep
Tools needed:
- No tools needed beyond your own observation and a phone camera
Common mistakes:
- Skipping this step because the bulk of the work already feels done, which is exactly when small issues get missed until spring
Budget: $0
Building Your Own Fall Prep Schedule
Every region’s timeline shifts based on your first hard freeze date, so use that date as your anchor point rather than a fixed calendar date.
- Work backward from your average first frost date to schedule garlic planting roughly six weeks ahead of it
- Handle soil testing and pH correction in early fall, since amendments need time to fully react with the soil
- Save mulching and the final walkthrough for the weeks closest to that first hard freeze
- Spread the full process across several weekends rather than attempting it all in a single exhausting day
What a Well-Prepped Bed Actually Looks Like Come Spring
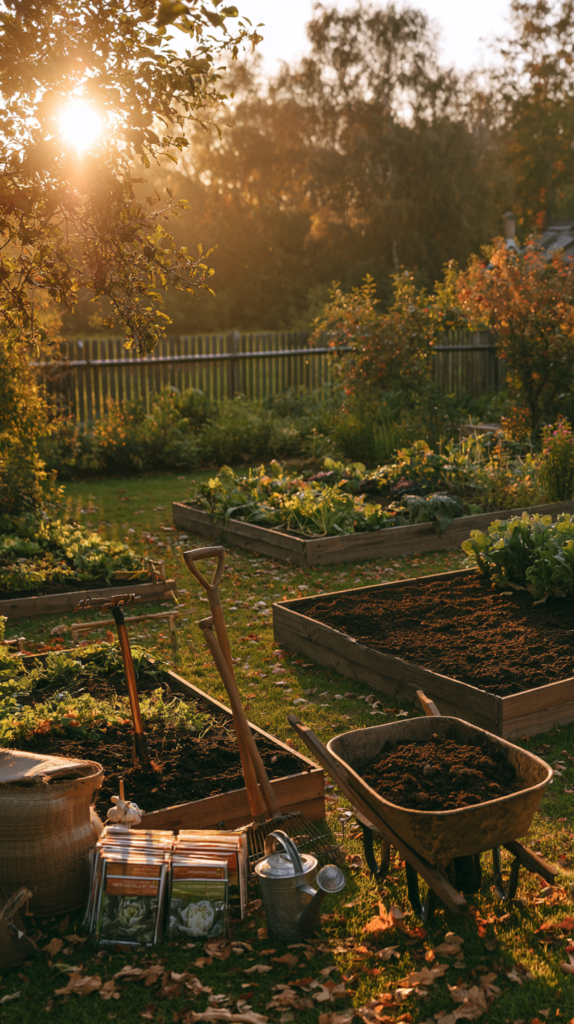
After going through this full process for a few seasons now, the difference each spring is consistent and obvious.
Soil that was properly prepped in fall crumbles easily in your hand instead of clumping into hard clods that need to be broken apart.
Garlic and cover crops emerge earlier and stronger, since the root systems had a full winter to establish rather than starting from scratch in spring.
And the workload itself shifts, since a well-prepped fall bed needs far less spring correction, leaving more time for the actual planting you’ve been waiting all winter to do.