How to Carve a Pumpkin That Actually Lasts Past Halloween
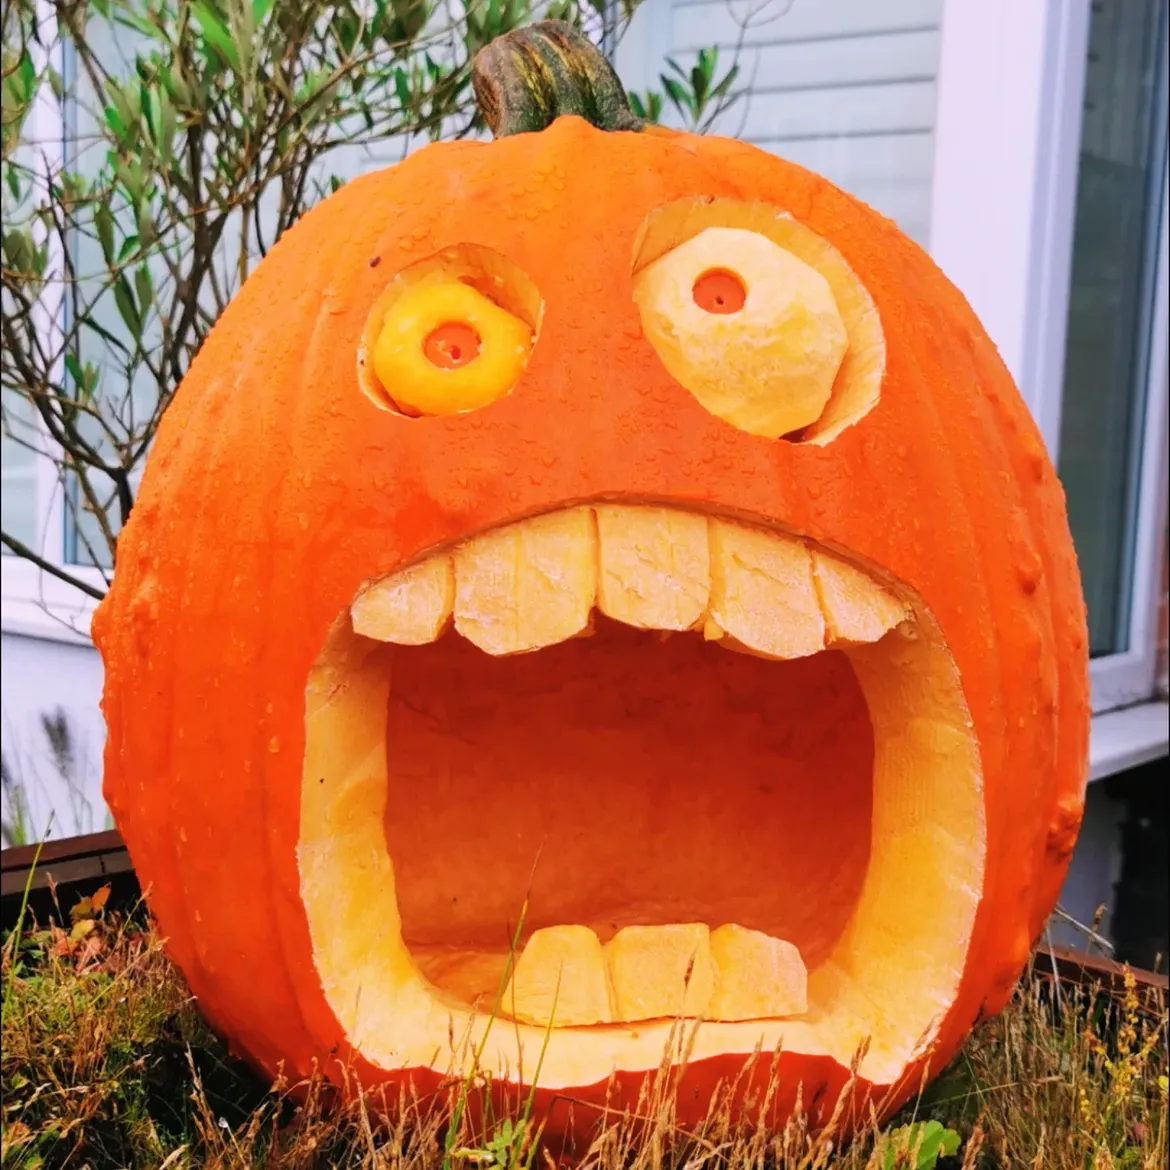
Most carved pumpkins are visibly collapsing within four or five days, which is a problem entirely of preparation and care rather than an unavoidable fact about pumpkins themselves. A pumpkin carved in mid-October and displayed properly can genuinely make it through the full month without turning into the sunken, moldy version that usually shows up on porches by the third week.
The rot that ends a jack-o’-lantern’s life isn’t really about the pumpkin ageing — it’s mold and bacteria taking hold in the moist, exposed flesh created by carving, then spreading and accelerating decomposition from there.
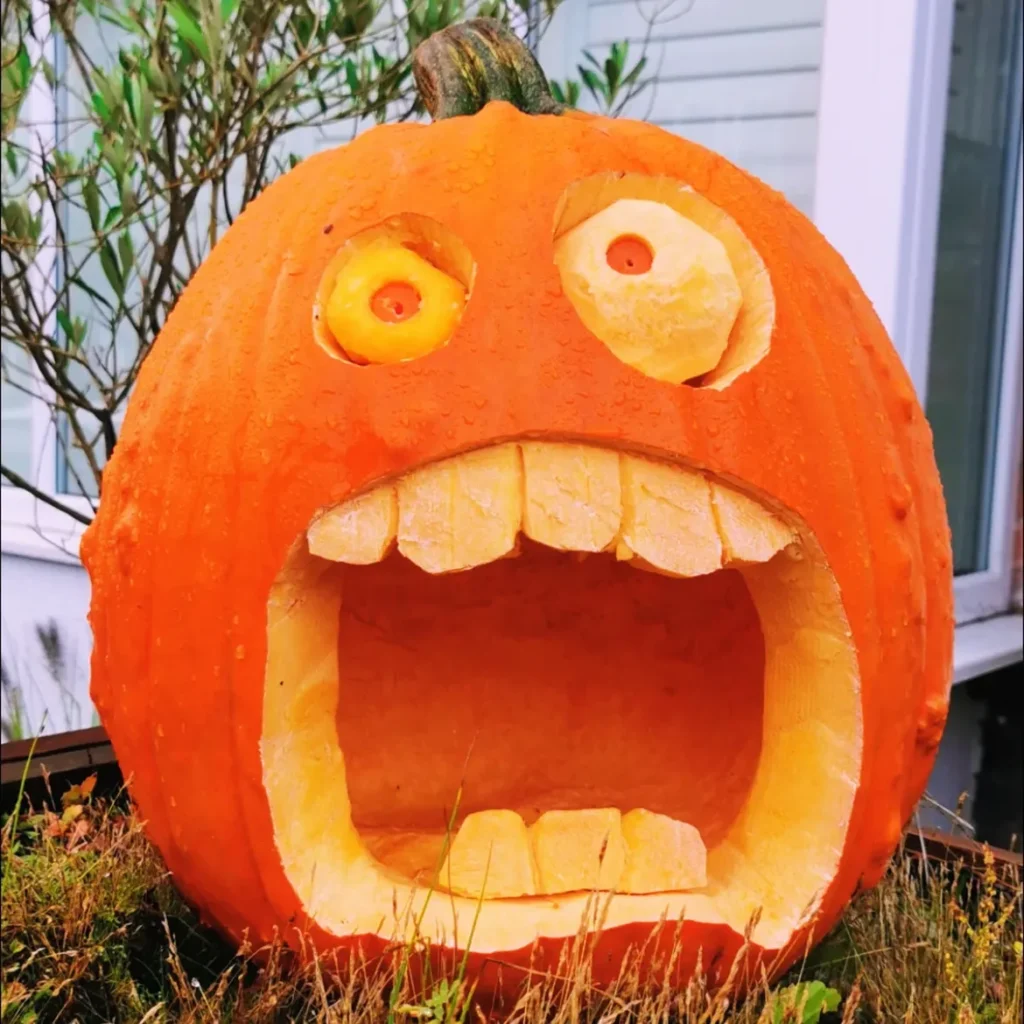
Slowing that process down is almost entirely about reducing moisture, blocking bacterial growth at the cut surfaces, and controlling the pumpkin’s temperature and light exposure. None of it requires anything exotic; it’s a handful of specific steps applied consistently.
Here’s how to carve and care for a pumpkin so it actually lasts through Halloween instead of collapsing a week early.
Why Most Carved Pumpkins Rot Within a Week
The moisture-retention problem:
Without thorough cleaning:
- Pulp, seeds, and stringy fibers left inside the pumpkin after carving
- The result: this leftover material retains moisture and provides an ideal environment for mold and bacteria, accelerating rot from the inside out
With thorough cleaning:
- Every trace of pulp and stringy material scraped completely from the interior walls
- The result: significantly less moisture and organic material available to feed mold growth
The exposed-flesh problem:
- Freshly cut pumpkin flesh left completely unprotected at every carved surface
- The result: cut flesh dries out, browns, and becomes a direct entry point for bacteria and mold spores
The heat-and-light problem:
- A carved pumpkin displayed in direct sun or near a heat source, or lit with a real candle inside
- The result: heat significantly accelerates the decomposition process, shrinking the carving’s lifespan considerably compared to a cooler, shaded display
The Five Long-Lasting Pumpkin Principles
Before carving anything, these five principles determine how long the finished jack-o’-lantern will actually last:
Start with a genuinely fresh, dense pumpkin:
- Firm skin, no soft spots, and a stem that’s still green or firmly attached
- A pumpkin that’s already starting to soften before carving has a shortened lifespan no amount of care afterward can fully reverse
Clean the interior completely, not just partially:
- Every trace of pulp and stringy fiber scraped from the walls, not just the seeds removed
- The single most important preparation step for slowing internal decomposition
Protect every cut surface immediately after carving:
- A barrier applied to all exposed flesh, sealing in moisture and blocking bacterial entry
- Directly addresses the primary way rot actually spreads through a carved pumpkin
Keep the pumpkin cool and out of direct light:
- Refrigeration or a cool, shaded location whenever it’s not actively on display
- Temperature control does more to extend lifespan than almost any single treatment applied to the pumpkin’s surface
Light with LED rather than an open flame:
- Avoids the internal heat buildup a real candle creates inside an enclosed carved pumpkin
- A simple swap that removes one of the most significant accelerants of internal rot
1. Choose a Genuinely Fresh, Dense Pumpkin
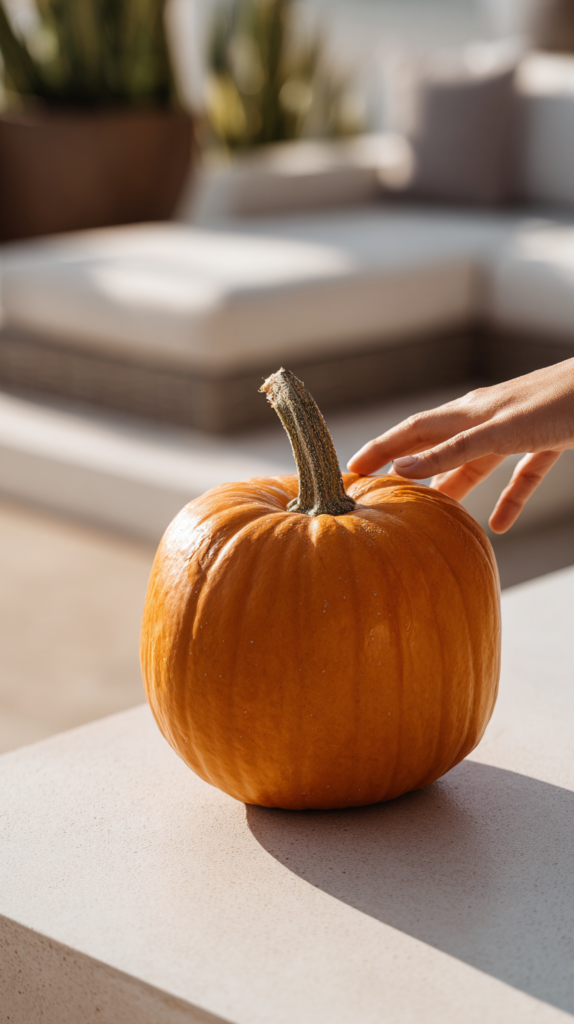
Select a pumpkin with firm, unblemished skin, no soft spots anywhere on the surface, and a stem that’s still green or firmly attached rather than dried and loose.
Why pumpkin selection determines the carving’s entire lifespan ceiling
No amount of careful preparation can fully compensate for starting with a pumpkin that’s already partway through its natural decline. A firm, dense pumpkin with a healthy stem has considerably more structural integrity and moisture reserve to draw on through the display period.
What to check
- Press gently on the surface in several spots; any give or softness indicates the pumpkin has already begun to soften internally
- A stem that snaps off easily or appears dried and shrunken suggests the pumpkin was harvested longer ago than one with a firm, green stem
2. Clean the Interior Completely
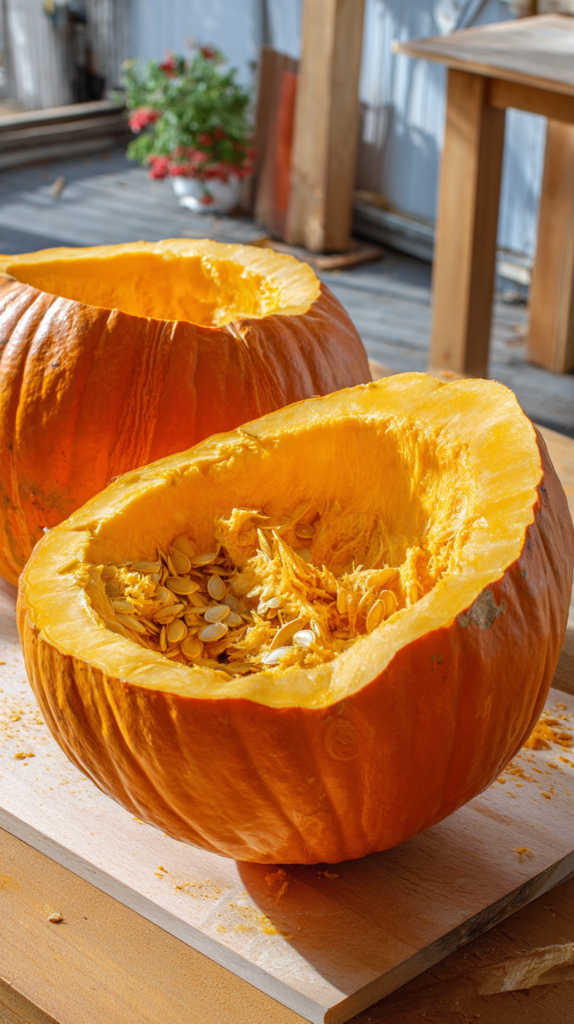
Scrape every trace of pulp and stringy fiber from the interior walls, not just the seeds and the large central mass, using a proper pumpkin scraping tool or a sturdy metal spoon.
Why partial cleaning still leaves significant rot risk
Many people remove the seeds and the bulk of the central pulp but leave a thin layer of stringy fiber clinging to the interior walls. This remaining material retains moisture and organic matter exactly where mold and bacteria first establish themselves, undermining an otherwise careful preparation.
Technique
- Scrape the interior walls until they feel smooth and relatively dry to the touch, not just visually clear of large pulp clumps
- A wire-loop pumpkin carving tool reaches into the pumpkin’s ridges and curves more effectively than a standard spoon
3. Wipe or Soak With a Diluted Bleach Solution
After carving, wipe both the interior and all cut edges with a diluted bleach solution (roughly one tablespoon of bleach per quart of water), or soak the entire carved pumpkin in this solution for a few hours.
Why bleach specifically addresses the bacterial side of decomposition
While cleaning removes organic material that feeds mold, bleach directly kills existing mold spores and bacteria already present on the pumpkin’s surface and interior, addressing the biological cause of rot rather than just its food source.
Application
- A soak, submerging the full carved pumpkin for 8–24 hours, provides the most thorough treatment
- If soaking isn’t practical, a thorough wipe-down of every interior and cut surface with a cloth dipped in the solution is a reasonable alternative
4. Coat All Cut Edges With Petroleum Jelly
Apply a generous coating of plain petroleum jelly to every cut surface — the carved design’s edges, the lid opening, and the interior walls — sealing in moisture and blocking air exposure.
Why sealing the cut surfaces matters as much as the interior cleaning
Freshly cut pumpkin flesh dries out and browns quickly once exposed to air, and this drying and browning is itself an early stage of the decomposition process. A petroleum jelly coating creates a physical barrier that significantly slows this moisture loss and air exposure.
Application
- Applied generously with a finger or a small brush to every visible cut edge, including the inside of the lid and the rim where it was cut
- Reapplied every few days throughout the pumpkin’s display period, since the coating does wear away over time
5. Carve Simple, Less Detailed Designs
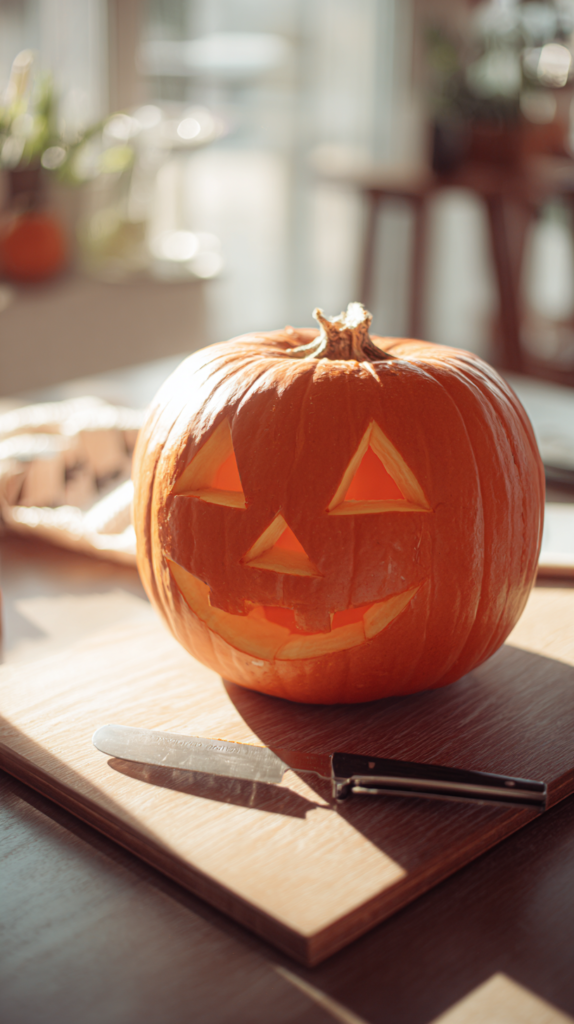
A design with fewer, larger cut areas rather than intricate, highly detailed carving, minimizing the total amount of exposed flesh surface.
Why total exposed surface area directly affects lifespan
Every carved line and cut edge is a location where moisture loss and bacterial entry can occur. A highly detailed design with many small cuts creates significantly more total exposed surface area than a simpler design, even on an identically sized pumpkin, directly shortening its expected lifespan.
Design guidance
- Larger, simpler shapes rather than fine detail work, if longevity is the primary priority over visual complexity
- Consider that a simpler design also generally takes less time to carve and clean thoroughly, compounding the lifespan benefit
6. Refrigerate the Pumpkin Overnight
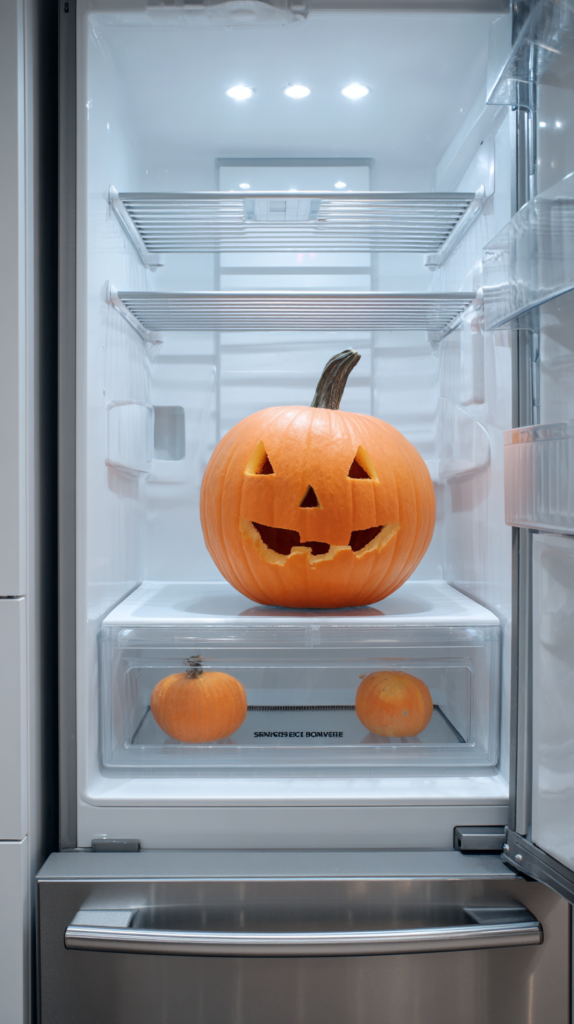
Store the carved pumpkin in a refrigerator (if size allows) or an unheated garage overnight, only bringing it out for actual evening display.
Why temperature control has an outsized effect on decomposition speed
Bacterial and mold growth accelerate significantly at warmer temperatures, meaning a pumpkin kept cool for the majority of each day — even if displayed for a few hours each evening — decomposes considerably more slowly than one left at room temperature or outdoor daytime temperatures continuously.
Practical application
- A refrigerator, if the pumpkin’s size allows, provides the most consistent cool storage
- An unheated garage, basement, or covered porch in a cooler climate offers a reasonable alternative where refrigeration isn’t practical for the pumpkin’s size
7. Keep the Pumpkin Out of Direct Sun and Heat
Display the pumpkin in a shaded location, away from direct afternoon sun or any nearby heat source, even when not actively refrigerated.
Why direct sun accelerates decomposition even for a well-prepared pumpkin
Direct sunlight both raises the pumpkin’s internal temperature and accelerates moisture loss from any remaining exposed or thinly protected surfaces, working against every other preparation step even when they’ve been carefully followed.
Placement guidance
- A shaded porch location, or one that only receives direct sun for a limited portion of the day
- Positioned away from any exterior heat source, such as a nearby light fixture that generates warmth
8. Light With a Flameless LED Candle
Use a battery-operated LED tea light or candle inside the pumpkin, rather than a real candle, avoiding the internal heat buildup an open flame creates within the enclosed carved cavity.
Why this single swap significantly extends lifespan
A real candle burning inside a carved pumpkin raises the internal temperature substantially over the course of an evening, directly accelerating the same heat-driven decomposition process that direct sunlight causes, but concentrated and repeated every night the candle is lit.
Selection
- A warm-toned LED tea light or pillar-style flameless candle, providing a similar warm glow to real candlelight without the associated heat
- Battery-operated with a reasonable battery life, given the likely repeated nightly use throughout the display period
9. Rehydrate With a Daily Water Spray
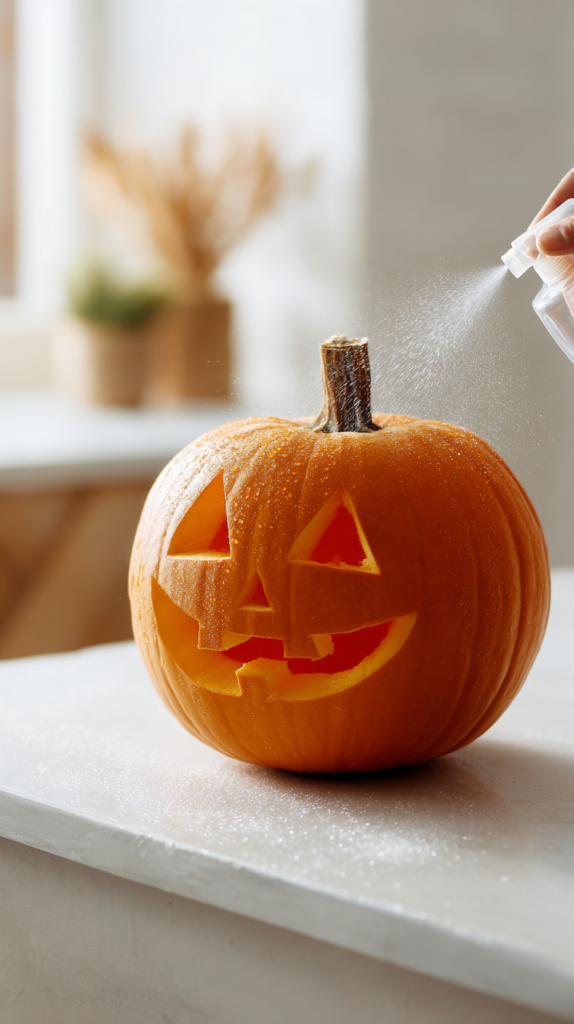
Lightly mist the pumpkin’s interior and cut edges with water once a day, replacing some of the moisture lost to air exposure despite the petroleum jelly barrier.
Why rehydration works alongside, not instead of, the moisture-sealing steps
Even with petroleum jelly applied, some moisture loss still occurs over time. A light daily misting replenishes some of this lost moisture, working in combination with the sealing step rather than replacing it, for a more complete moisture-management approach.
Application
- A light mist, not a heavy soak, applied to the interior and cut edges once daily
- Best done in the morning, before the pumpkin is displayed for the day, allowing any excess moisture to settle before evening display
10. Elevate the Pumpkin Off the Ground
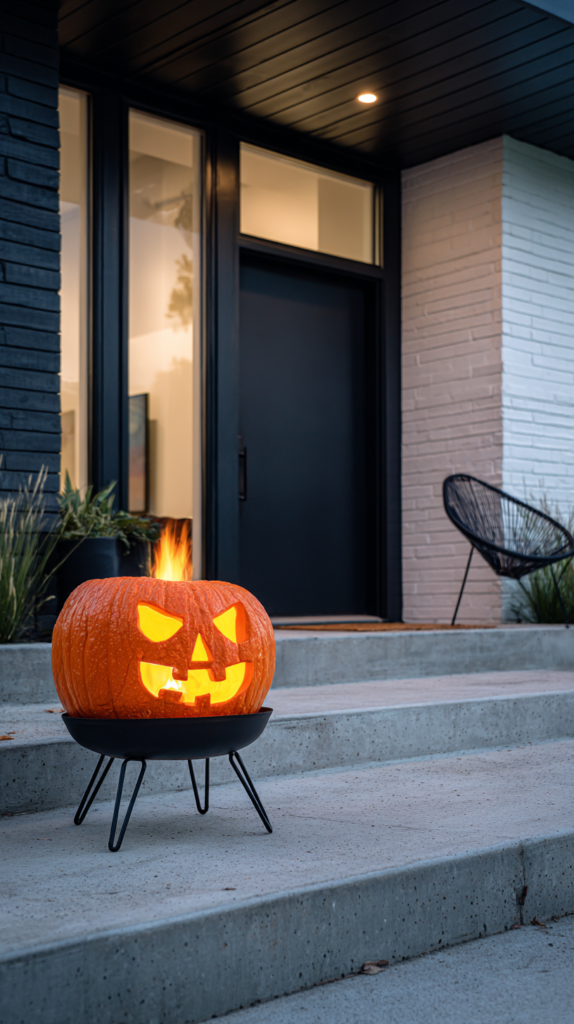
Display the pumpkin on a stand, a plate, or an elevated surface, rather than placing it directly on soil, grass, or a porch floor.
Why ground contact accelerates decomposition from the bottom up
Direct contact with soil, grass, or a damp porch surface introduces additional moisture and bacteria to the pumpkin’s underside, an area that’s difficult to treat directly and often overlooked in general pumpkin care, accelerating rot from a location that’s not visible until it’s already advanced.
Practical application
- A simple plate, tray, or small stand, providing airflow beneath the pumpkin and separating it from ground moisture
- Particularly important in humid climates or during a rainy stretch of weather
11. Apply a Preventive Anti-Fungal Spray
A light spray of a diluted bleach solution or a commercial pumpkin preservation spray, applied every few days throughout the display period, rather than only at the initial carving stage.
Why ongoing treatment matters as much as the initial preparation
The bleach soak and petroleum jelly coating both address the pumpkin’s condition at the moment of carving, but bacterial and mold exposure continues throughout the full display period. Reapplying a light antifungal treatment every few days extends the same protective effect across the pumpkin’s entire lifespan, not just its first day.
Application schedule
- A light spray every 3–4 days throughout the display period, in addition to the initial soak or wipe-down
- Applied to both the interior and any exterior carved surfaces, allowing the pumpkin to dry briefly before returning to display or storage
The Complete Long-Lasting Pumpkin Method
Every technique above applied together, from selection through ongoing care — the definitive approach for a carved pumpkin that genuinely holds up through the full Halloween display period.
The full process, step by step
Before carving:
- Select a firm, dense pumpkin with a healthy green stem (Idea #1)
During carving: 2. Clean the interior completely, removing all pulp and stringy fiber (Idea #2) 3. Choose a simpler design to minimize total exposed surface area (Idea #5)
Immediately after carving: 4. Soak or thoroughly wipe with a diluted bleach solution (Idea #3) 5. Coat every cut edge with petroleum jelly (Idea #4)
Ongoing daily and periodic care: 6. Refrigerate or store cool overnight, displaying only in the evening (Idea #6) 7. Keep out of direct sun and heat during any daytime display (Idea #7) 8. Light with a flameless LED candle, never an open flame (Idea #8) 9. Mist lightly with water once daily (Idea #9) 10. Display elevated off the ground (Idea #10) 11. Reapply an antifungal spray every 3–4 days (Idea #11)
What a properly cared-for pumpkin looks like after three weeks
While an untreated, carelessly carved pumpkin typically shows visible collapse and mold within 5–7 days, a pumpkin carved and maintained using every step above commonly holds its shape and colour for two to three weeks, sometimes making it through the full month to Halloween itself with only minor, manageable shrinkage.
Cost breakdown for the complete method
- Fresh, quality pumpkin: $8–20 depending on size
- Bleach (household supply, minimal quantity used): $3–5
- Petroleum jelly: $3–6
- Flameless LED candle: $8–15
- Spray bottle, if not already owned: $3–5
Total: $25–51
The Question Before Carving Any Pumpkin for Longevity
Before starting:
How many weeks does the pumpkin actually need to last?
If the answer is: just a few days for a single event — the basic cleaning and petroleum jelly steps alone are likely sufficient without needing the full ongoing care routine.
If the answer is: the full month leading up to Halloween — commit to the complete method, including refrigeration and periodic reapplication of the antifungal spray, since a partial approach won’t extend the lifespan as significantly over that longer period.
If the answer is: displaying outdoors in a warm or humid climate — prioritise the elevation, shade, and cool storage steps most heavily, since heat and humidity are the two factors most likely to shorten a pumpkin’s lifespan regardless of other care taken.
If the answer is: carving several pumpkins for a larger display — apply the same method consistently to all of them, since a single poorly prepared pumpkin among several others won’t extend its life just because its neighbors were properly treated.
The level of care follows how long the pumpkin actually needs to last, not a single universal standard. A pumpkin carved for one weekend gathering doesn’t need the full refrigeration and reapplication routine that a month-long Halloween display genuinely benefits from.
Getting Started This Weekend
The immediate long-lasting pumpkin step:
Choose a firm, dense pumpkin with a healthy stem before carving anything.
The foundational decision every other step builds on.
Clean the interior completely, scraping the walls smooth rather than stopping at seed removal.
The single most commonly skipped preparation step, and one of the most impactful.
Coat every cut edge with petroleum jelly immediately after carving.
Takes only a few minutes and significantly slows moisture loss from that point forward.
Switch to a flameless LED candle for lighting.
A simple swap that removes one of the most significant heat-driven accelerants of pumpkin decay.
The rest of the care routine: the elaboration of the following weeks, through Halloween itself.
The cleaning: the beginning. The long-lasting jack-o’-lantern: what a carved pumpkin becomes once moisture, heat, and bacteria are all genuinely accounted for, rather than left to work against it from the very first cut.