14 Smart Furniture Layout Ideas for Small Living Rooms
The small living room that works is almost never the one with the smallest furniture. It is the one where the furniture has been arranged with a clear understanding of how the room is actually used — where the primary seating faces, where the natural light falls, where the traffic paths run, and what the room needs to contain before it needs to look generous.
Most small living rooms are not too small for what is in them. They are too crowded with the wrong things in the wrong positions, and the right layout makes the difference between a room that feels tight and one that feels entirely adequate for the life lived within it.
The fourteen ideas below are the specific layout and furniture decisions that consistently produce the most spacious and most functional results in small living rooms. Each includes a cost guide where relevant and a practical tip to help you apply the principle in the specific room you have.
1. Float the Sofa Away From Every Wall
Budget: $0
The instinct to push furniture against every wall in a small room — to maximise the clear floor space in the centre — consistently produces the least spatially effective result available in most small living rooms. A sofa pushed against the wall creates an empty central space that reads as unused rather than spacious, and it removes the sofa from the conversational proximity to the other seating that makes a living room function as a gathering place rather than a waiting room.
Move the main sofa 30–45 cm away from the wall behind it. The gap creates a sense of depth between the sofa and the wall, allows a narrow console table to be placed behind the sofa back (adding a surface for lamps and objects that the wall-pushed sofa cannot accommodate), and changes the seating arrangement from a perimeter-clinging lineup into a proper conversation zone centred in the room. The floor area that appears to be lost behind the sofa is more than compensated by the improvement in the room’s spatial quality and functional usefulness.
Layout tip: Once you have moved the sofa away from the wall, add a narrow console table in the gap behind it — 25–30 cm deep, the full width of the sofa back. A lamp on each end of the console, a small plant in the centre, and one or two books or objects creates a layered arrangement visible from the room entry that makes the living room read as professionally styled. The console table costs $80–$200 and uses a space that was previously empty without consuming any additional floor area in the functional room zone.
2. Choose a Sofa That Ends Before the Wall
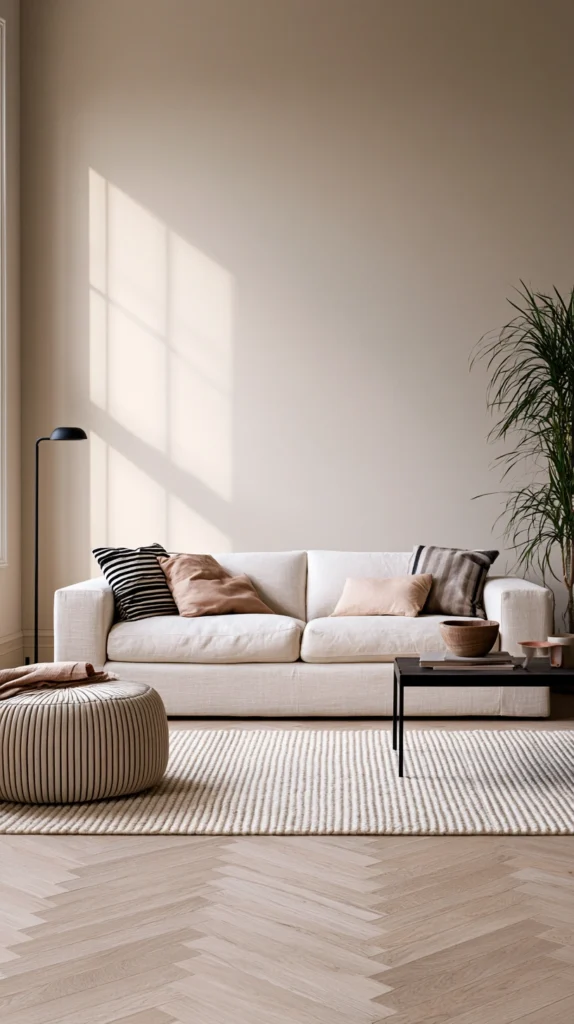
Budget: $400 – $1,500
In a small living room the sofa scale relative to the wall it occupies is the most consequential single furniture decision available. A sofa that runs edge-to-edge across a wall — reaching the walls on both sides — visually fills the entire wall with upholstery and makes the room read as furniture-dominated. A sofa that leaves at least 30–40 cm of clear wall space on one or both sides reads as appropriately scaled and allows the wall to be seen as a surface as well as a backdrop for the furniture in front of it.
Choose a two-seat or small three-seat sofa in preference to a full-width three-seater if the room dimensions are tight. A compact two-seat sofa of 165 cm width costs $400–$900. A small three-seat sofa of 190 cm runs $500–$1,200. The additional seating capacity lost by choosing a smaller sofa can be recovered through an armchair ($150–$400) that provides a second seating position without consuming the same continuous wall width as a larger sofa would require.
Layout tip: Measure the available wall width before choosing a sofa size and subtract 60–80 cm to find the maximum sofa width that leaves adequate clear wall space on each side. Write that measurement down before going to any furniture shop or website. Most impulse furniture purchases that result in a sofa too large for the room happen in the absence of this specific calculation, which takes thirty seconds to make and saves every cost and inconvenience of an oversized sofa that cannot be exchanged after delivery.
3. Use One Armchair Instead of a Matching Sofa Set
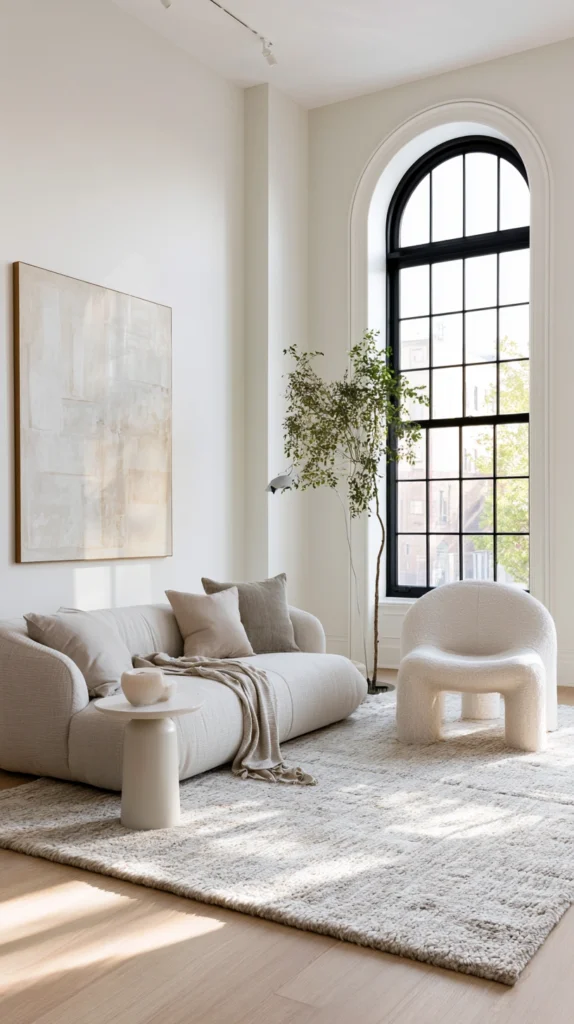
Budget: $150 – $500
A three-piece suite — a sofa and two matching armchairs — is one of the most consistently space-consuming furniture arrangements in any living room and one of the most specifically counterproductive in a small one. The two armchairs consume the same floor area as a second sofa and provide only two additional seating positions, often at the cost of all viable floor traffic paths through the room. Replacing both armchairs with one well-chosen single armchair reduces the seating count by only one position while recovering most of the floor area both chairs previously occupied.
A quality accent armchair in a complementary rather than matching fabric to the sofa costs $150–$500 secondhand or $250–$700 new. Position it at 90 degrees to the sofa rather than facing directly into the room from the opposite wall — the 90-degree arrangement creates a conversational triangle between sofa, armchair, and coffee table that works at the small room scale, while the directly facing arrangement across the room recreates the too-much-furniture quality the removal of the second armchair was intended to solve.
Layout tip: Choose an armchair in a slightly different style from the sofa — not from the same three-piece suite range — for a small living room. Matching suite furniture signals that the room was furnished as a set, which reads as slightly generic regardless of the quality of the individual pieces. A sofa and a complementary but distinct armchair reads as a considered combination and makes the small room feel more personally curated and more specifically designed than any matching suite achieves in the same floor area.
4. Replace the Coffee Table With a Nest of Tables
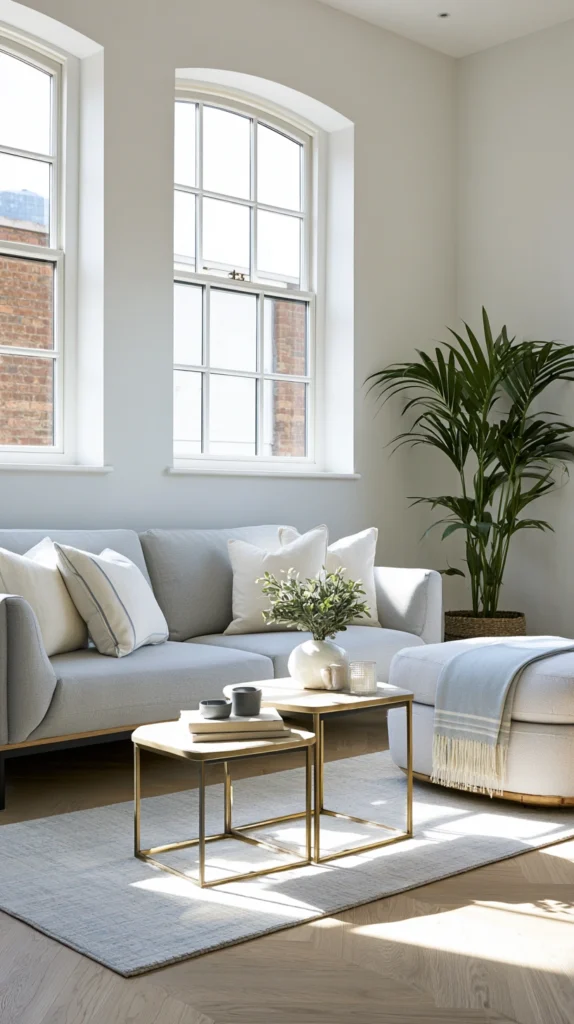
Budget: $60 – $300
A standard coffee table occupies a fixed floor area at the centre of the seating arrangement regardless of whether it is being used — which in most small living rooms means it is occupying the room’s most valuable floor space for the majority of the time it is in the room. A nest of tables provides the same surface area when all tables are in use and a fraction of the footprint when only one is needed — which is most of the time in most small living rooms where the full table surface is required only during specific activities rather than continuously throughout the day.
A nest of two or three tables in solid timber or with metal legs costs $60–$200. A pair of individual side tables that can be positioned wherever needed — beside the sofa, in the corner, pulled together as a coffee table equivalent when required — runs $40–$100 each. The floor area recovered by replacing a fixed coffee table with a nestable alternative is immediately visible as increased spaciousness in the room’s central zone and makes the room noticeably easier to move through during the hours when the tables are nested and occupying their minimal combined footprint.
Layout tip: When using a nest of tables in place of a coffee table, keep the largest table nested in the position closest to the sofa front edge rather than pulled out into the central floor area when not in use. A table at the sofa front edge occupies a position that would otherwise be wasted as the gap between the sofa and whatever object is placed in the centre of the room, rather than consuming the clear floor zone that makes the small living room feel spacious during the periods between active use of the table surface.
5. Mount the Television on the Wall
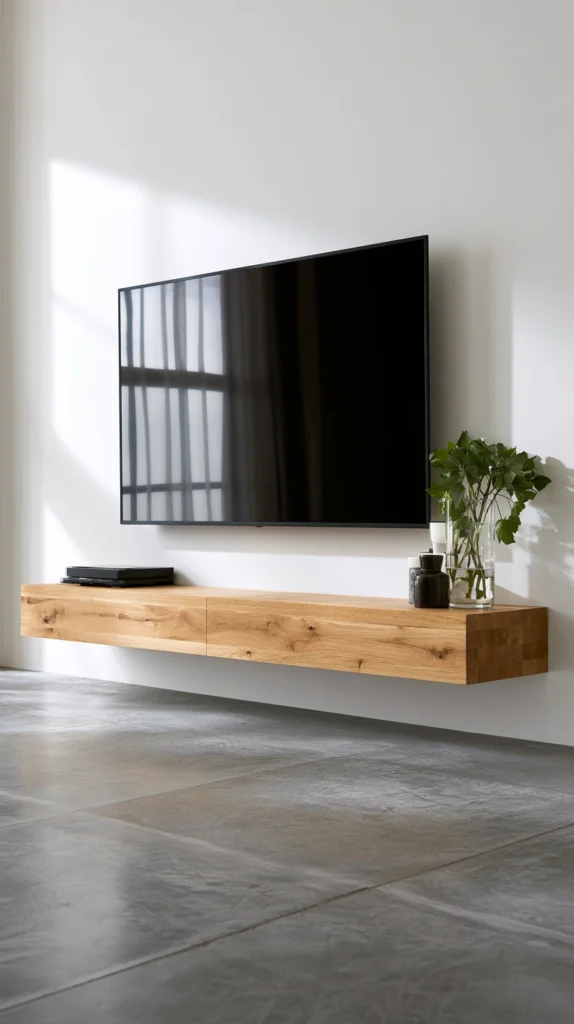
Budget: $30 – $150 for the wall mount
A television on a media unit or TV stand consumes floor space and introduces a piece of furniture at a height that competes with the sofa and armchair for visual prominence in the room’s primary zone. Wall-mounting the television removes the media unit and the TV stand from the floor, recovers the floor space both occupied, and places the screen at the correct viewing height for seated viewing without the furniture mass that a floor-standing equivalent requires beneath it. It is the most space-recovering single furniture removal available for most small living rooms.
A wall mount suitable for screens up to 65 cm diagonal costs $30–$60. Tilting mounts that allow the screen angle to be adjusted for different seating positions cost $50–$100. Professional installation including cable concealment within the wall costs $150–$300. DIY installation with surface-run cable trunking costs $30–$60 in materials. Remove the media unit and TV stand completely once the screen is wall-mounted — replacing them with a smaller, lower console or floating shelf unit ($80–$200) that stores only what is actually needed at the television position rather than accumulating the full range of obsolete equipment that most media units contain.
Layout tip: Mount the television at a height where the screen centre is at seated eye level — approximately 100–110 cm from the floor for a standard sofa seat height — rather than at the standing height that many installations default to. A screen mounted too high requires viewers to tilt their heads upward throughout viewing, creating neck discomfort that reduces the enjoyment of the viewing experience in the room where the television was specifically installed to be the primary entertainment source.
6. Add a Mirror to Expand the Visual Space
Budget: $50 – $300
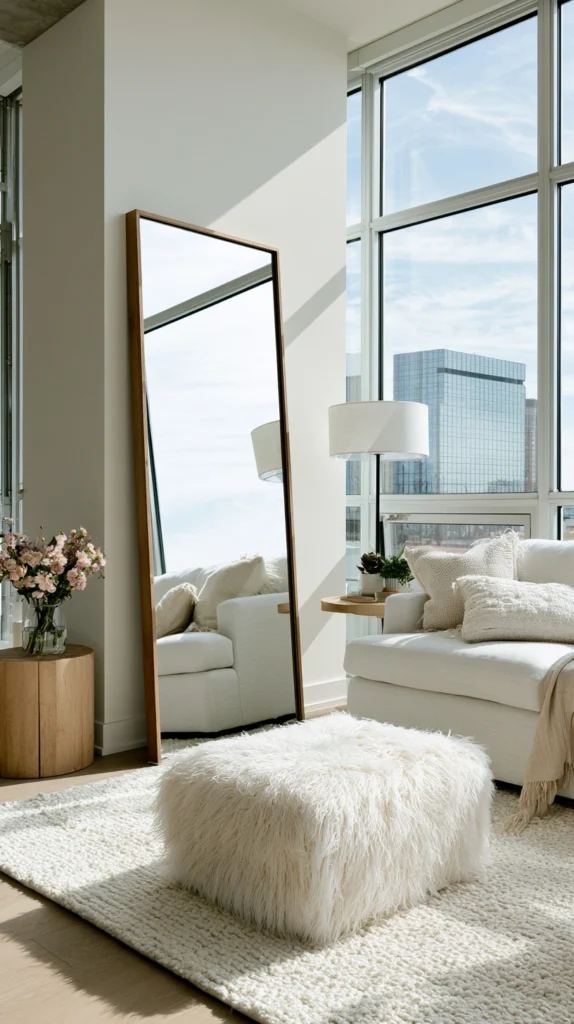
A large mirror on the wall opposite the main window — positioned to reflect natural light back into the room and to create the illusion of a second window — is the most effective single addition for making a small living room appear more spacious without any furniture rearrangement or physical construction. The reflected light brightens the room, the reflected image creates apparent depth beyond the mirror surface, and both effects amplify the sense of spatial generosity that the physical dimensions of the room alone cannot provide.
A large rectangular mirror of 80×120 cm or above costs $60–$200. A full-length leaning mirror of 60×160 cm creates even more dramatic spatial effect at $80–$250. Position with the mirror’s centre at 155–160 cm from the floor — the standard hanging height that places the mid-point of the mirror at adult standing eye level and reflects the most interesting elements of the room (furniture, objects, windows) rather than primarily the ceiling and floor. Lean a large mirror against the wall rather than hanging it for the most visually generous floor-to-ceiling reflective quality.
Layout tip: Angle a leaning mirror very slightly away from the wall — 3 to 5 degrees — rather than perfectly vertical. A slightly forward-angled mirror reflects the floor and mid-level room elements rather than the ceiling — which creates a more flattering and more spatially effective reflection of the living room interior. The forward angle also catches the natural light from any adjacent window more effectively than a perfectly vertical surface, increasing the mirror’s light-amplifying quality in daylight hours.
7. Use Built-In Shelving for Storage and Display
Budget: $300 – $1,200
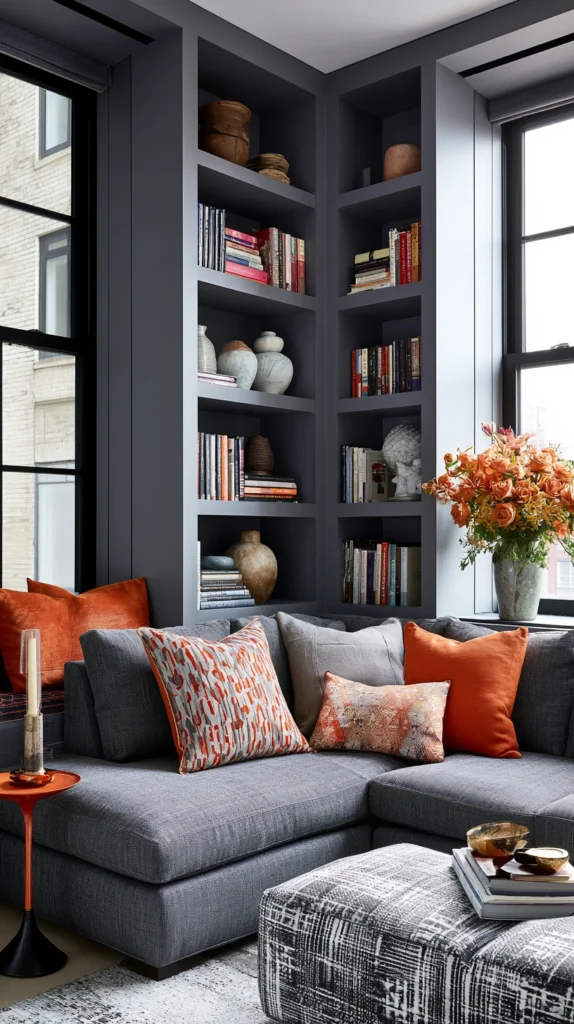
Built-in shelving on one wall — floor to ceiling, flanking a chimney breast, or filling a recessed alcove — provides the storage and display capacity of several freestanding furniture pieces while consuming a fraction of the floor space those pieces would occupy. A built-in bookcase on the wall behind the sofa provides the full storage function of a freestanding bookcase without the gap between the furniture back and the wall that a freestanding equivalent creates — recovering that gap as usable floor area rather than as an inaccessible and dust-collecting void.
A professionally built floor-to-ceiling shelf unit costs $400–$1,000 per alcove or bay. A DIY equivalent in plywood or painted MDF costs $150–$400 in materials per unit. The key advantage of built-in shelving over freestanding in a small living room is the flush quality of the installation — shelving that ends at the ceiling, meets the floor without a kickplate gap, and fills the wall’s full width without exposed sides reads as an architectural feature of the room rather than furniture placed against its walls, which is precisely the quality that makes a small room feel designed rather than simply furnished.
Layout tip: Paint built-in shelving the same colour as the wall it occupies rather than leaving it in a contrasting white or natural timber finish. A shelving unit painted in the wall colour visually recedes into the wall and creates a surface that appears to be part of the room’s architecture. The same unit in a contrasting finish reads as furniture, and furniture on a wall makes the room appear smaller. The paint cost is negligible and the spatial improvement of a wall-coloured built-in shelf is immediately visible in any before-and-after comparison.
8. Choose Furniture With Visible Legs
Budget: varies
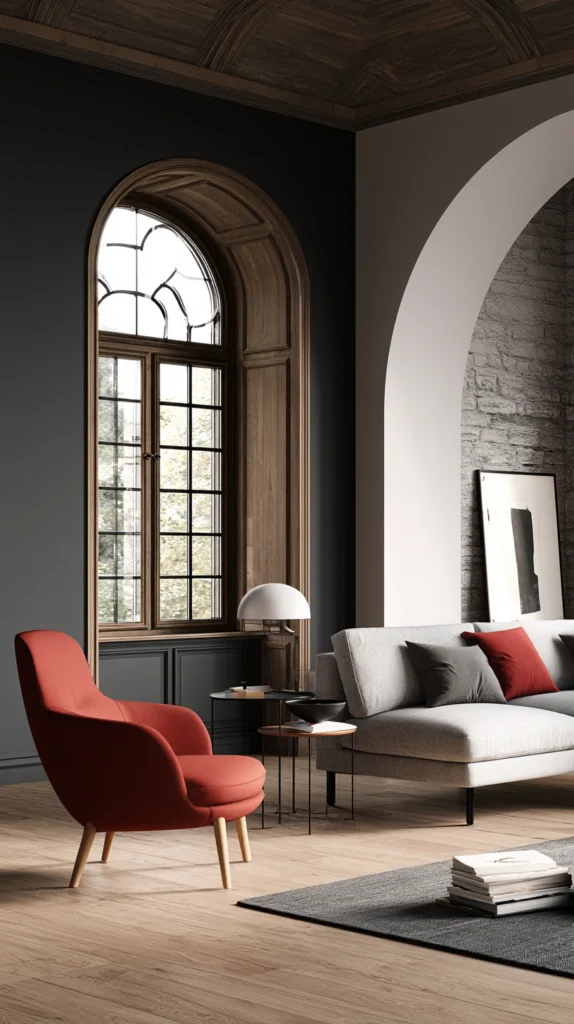
Furniture with visible legs — a sofa on four clearly visible legs rather than a low-profile base that sits directly on the floor, a coffee table on slender legs rather than a solid plinth, an armchair with high legs rather than a box frame — creates the impression of a lighter, less floor-dominant furniture arrangement that makes a small living room feel more spacious than an equivalent arrangement of floor-to-floor furniture at the same scale.
The principle is the same that makes spaces with bare floor visible beneath furniture feel larger than spaces where furniture bases create an uninterrupted floor-to-wall visual mass. A sofa on 15 cm legs shows 15 cm of floor beneath it — a strip of visible floor that creates a visual gap between the furniture and the floor that reads as lightness and spatial generosity rather than floor coverage. This effect is available at no cost if the existing furniture already has legs, and at the cost of adding furniture feet ($5–$30 per set of four) if the furniture has a solid base that can accommodate them.
Layout tip: The leg height that produces the most beneficial spatial effect in a small living room is 10–20 cm — enough to show a clear floor gap beneath the furniture without raising the seat height uncomfortably or creating an unstable visual top-heaviness in the furniture piece. Legs shorter than 10 cm are too low to read clearly as creating a floor gap from the primary standing and seated viewpoints. Legs taller than 25 cm produce an oversized visual gap that makes furniture appear to float uncomfortably rather than rest lightly.
9. Create One Clear Traffic Path Through the Room
Budget: $0
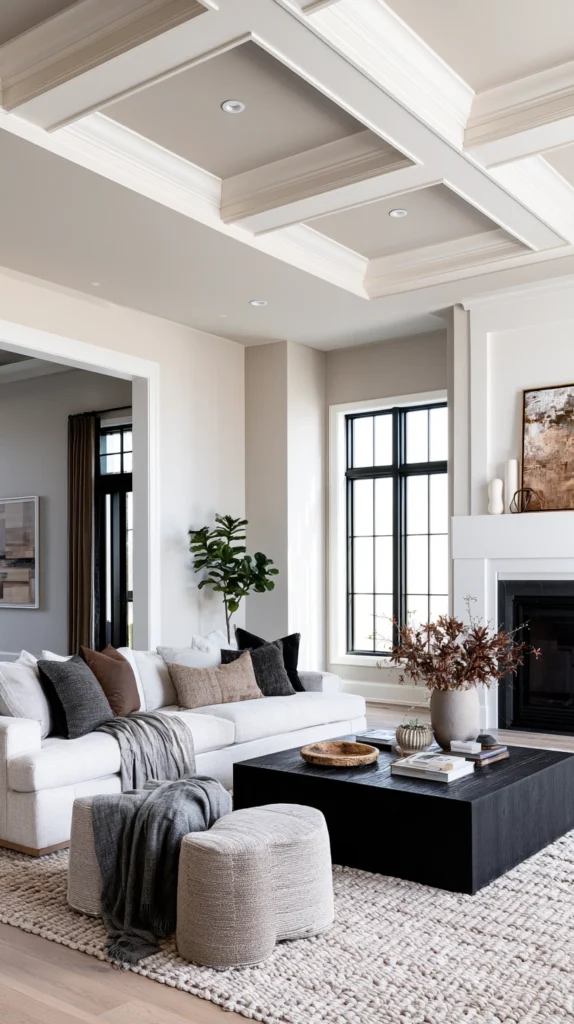
The furniture arrangement that produces the most spacious-feeling small living room always preserves one clear, unobstructed path from the room’s entry point to its furthest destination — typically from the door to the window, or from the door to the main seating zone — without requiring any diagonal, around-the-furniture navigation. A room where the traffic path is clear always feels more spacious than one where it is obstructed by furniture that must be navigated around, regardless of the total floor area that both rooms contain.
Assess the current room arrangement by walking from the door to the main seating position and noting every furniture corner or edge that requires a direction change to avoid. Each required direction change is a point where a furniture piece is encroaching on the natural traffic path through the room. Rearranging to eliminate each encroachment — even if it requires moving the sofa 20 cm or rotating the armchair 15 degrees — produces a measurable improvement in the apparent spaciousness of the room without any cost beyond the effort of the rearrangement.
Layout tip: The minimum clear width for a comfortable traffic path through a living room is 90 cm — wide enough for two people to pass each other comfortably. A path of 75 cm allows single-file movement but creates perceptible tightness. A path of less than 70 cm between two pieces of furniture produces a feeling of cramped navigation that registers as the room being too small rather than the furniture being too close together, which is the specific misattribution that poor traffic path planning consistently creates in small living rooms.
10. Use a Rug to Define the Seating Zone
Budget: $80 – $400
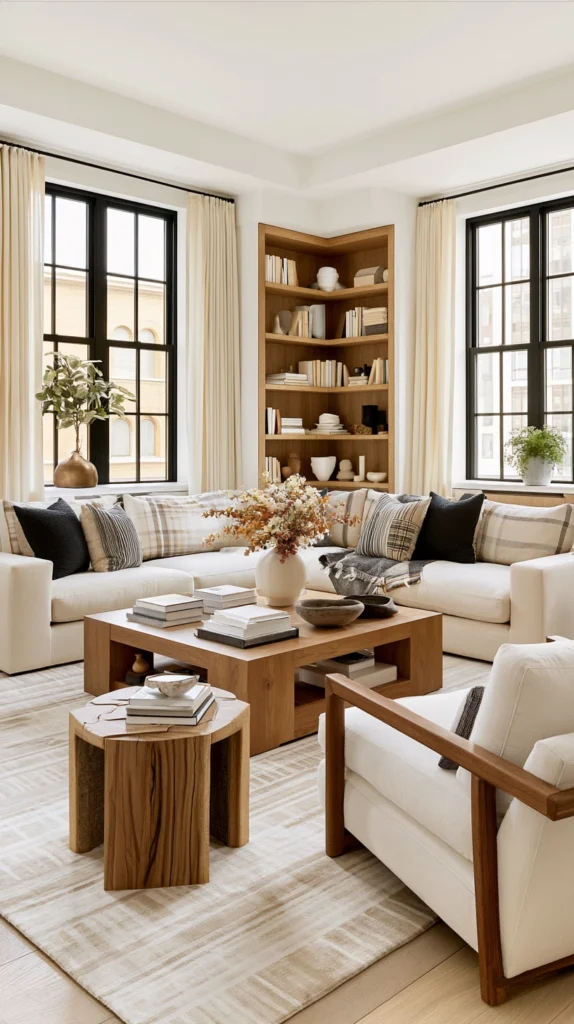
A rug that is correctly sized for the seating arrangement — with all four legs of every piece of seating furniture either fully on the rug or at least with their front legs on it — defines the seating zone as a room within the room and creates a visual organisation of the small living space that a bare floor cannot provide. The rug is not merely a decorative element — it is the primary spatial organiser of the seating zone and its correct sizing is as important to the room’s spatial quality as any furniture decision.
A rug of 160×230 cm suits a standard two-seat sofa plus one armchair arrangement with all front furniture legs on the rug and adequate visible rug border on all three accessible sides. A rug of 200×290 cm suits a larger arrangement where all legs of all furniture pieces are fully on the rug surface. An undersized rug — one where the furniture appears to be placed around rather than on the rug — creates the most consistently cited spatial quality error in small living room decoration and is visible as a proportional mistake from any viewing angle in the room.
Layout tip: Place the rug before placing any furniture rather than trying to fit the rug around existing furniture positions. The rug defines the seating zone and the furniture positions are determined by the rug’s placement — not the other way around. A rug placed first creates a seating zone with correct proportions and centring relative to the room. A rug placed last adjusts to whatever furniture positions already exist, which almost always produces an undersized rug in an off-centre position that is visible as an afterthought rather than a foundational layout decision.
11. Replace a Bulky Media Unit With a Floating Shelf
Budget: $40 – $150
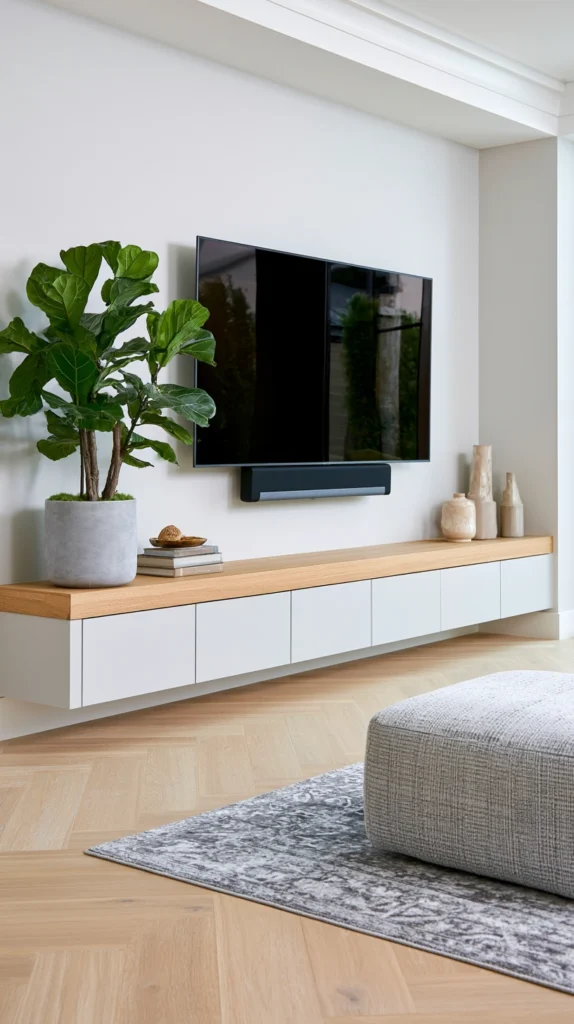
A standard media unit — typically 120–180 cm wide, 50 cm deep, and 45–55 cm high — is the single largest piece of furniture in most living rooms and the one that occupies the greatest proportion of floor area relative to its functional contribution. Replacing it with a floating shelf at the appropriate height for the wall-mounted screen, with a small media box ($30–$80) placed neatly on the shelf and cables managed invisibly, recovers the full floor footprint of the media unit — typically 0.6–0.9 square metres — without reducing any meaningful functionality.
A floating timber shelf of 100 cm length and 25 cm depth costs $40–$100. A cable management box to conceal power strips and loose cables costs $15–$30. The floor area recovered by removing the media unit — visible once the heavy furniture is gone — transforms the immediate visual quality of the wall it occupied. The floor appears to extend further toward that wall and the room reads as more generous in its dimensions than it did when the media unit occupied the full visual space between the floor and the wall-mounted screen above it.
Layout tip: Remove the media unit before installing the floating shelf and live with only the wall-mounted screen and its cable situation for one week before deciding what the shelf needs to contain. The week without the media unit shows clearly which of the unit’s contents are needed at the television position and which have been stored there by accumulation rather than genuine need. The resulting shelf holds only what is genuinely required and the significant majority of the media unit’s former contents can be rehomed or discarded without any practical inconvenience to the room’s daily use.
12. Use Dual-Purpose Furniture Throughout
Budget: $100 – $500
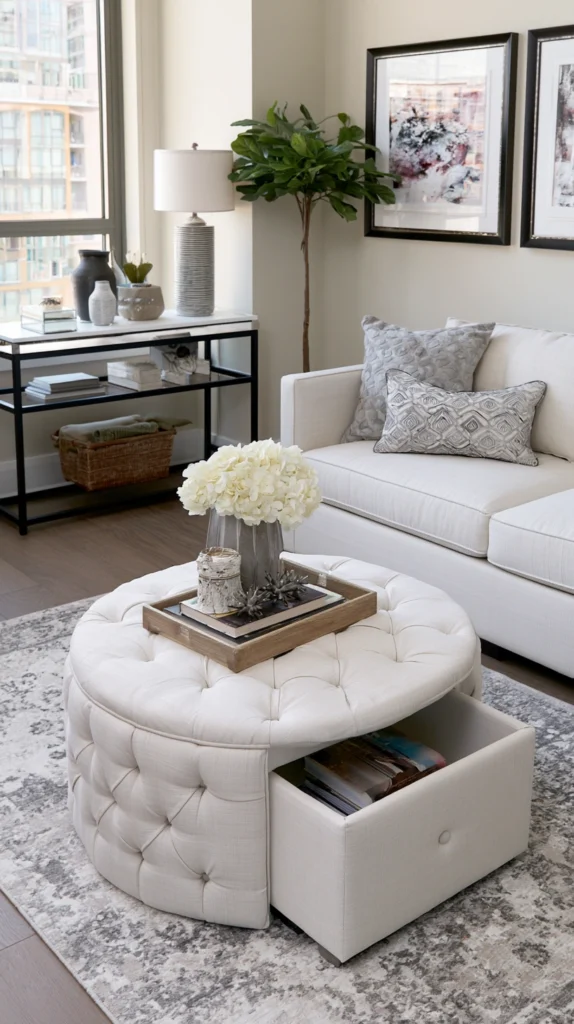
Every piece of furniture in a small living room should serve at least two functions — a storage ottoman that provides seating, a footrest, and hidden storage; a console table that provides a surface and conceals a basket beneath; a coffee table with a lower shelf that stores magazines and remotes without requiring a separate storage piece in the same room. Dual-purpose furniture provides the same functional capacity as two single-purpose pieces while consuming the floor area of one — which in a small living room is always the most efficient use of the limited furniture positions available.
A storage ottoman in a quality fabric costs $100–$300 and provides seating, footrest, coffee table surface, and internal storage in the footprint of one piece of furniture. A sofa with built-in under-seat storage costs $500–$1,200 and provides the storage capacity of a chest of drawers within the footprint of the sofa itself. A bookcase with a built-in fold-down desk costs $200–$500 and provides the functionality of a separate bookcase and a small home working surface within the combined footprint of both.
Layout tip: The dual-purpose furniture investment delivers its maximum return when the furniture’s secondary function is one that would otherwise require a separate piece in the room. An ottoman that provides storage for items that currently require a storage unit elsewhere in the room recovers the floor space of that storage unit and increases the functional capacity of the room simultaneously — a double benefit that no single-function furniture piece at any price can provide from the same floor position.
13. Keep the Space Beneath the Windows Clear
Budget: $0
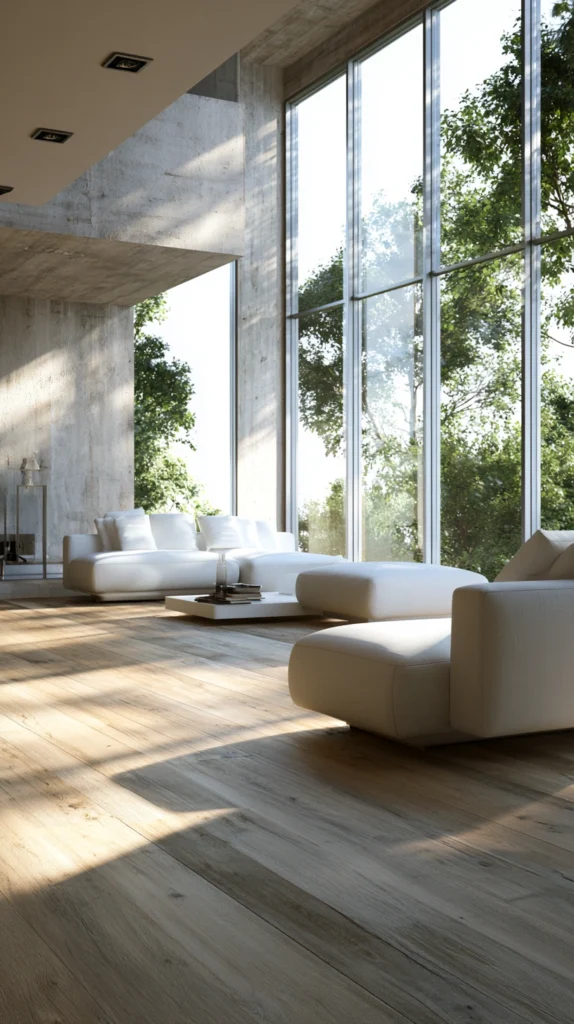
The floor area beneath a window is the most light-generating floor position in any room — placing furniture in this position both blocks natural light from entering freely at the low angles where it is most effective at brightening the room’s interior and creates a shadow beneath the furniture that gives the room a darker, more confined quality than the same furniture placed in a position away from the window. Keeping the floor clear beneath every window maximises the natural light’s ability to reach and reflect off the floor surface and bounce back into the room from the position where it is most needed.
This principle requires no cost — it is a furniture rearrangement decision rather than a purchase decision. Move any furniture currently positioned directly beneath a window to a position that does not block the window light — even 60 cm away from the window is sufficient to prevent the furniture from interrupting the light at its most valuable low-angle entry path. The improvement in room brightness and in the apparent spaciousness produced by the additional floor-level light is visible immediately and persists through every season and every light condition for as long as the furniture remains in the moved position.
Layout tip: The one exception to the clear-beneath-window principle is a window seat or a radiator cover — both of which occupy the under-window position by functional necessity. A window seat under a window maximises the light by placing the seating where the best natural light falls rather than away from it, and the radiator cover provides a surface at the window height that can serve as a display shelf or a narrow console for small objects without reducing the natural light quality that the window position creates.
14. Edit the Room to Its Most Essential Furniture
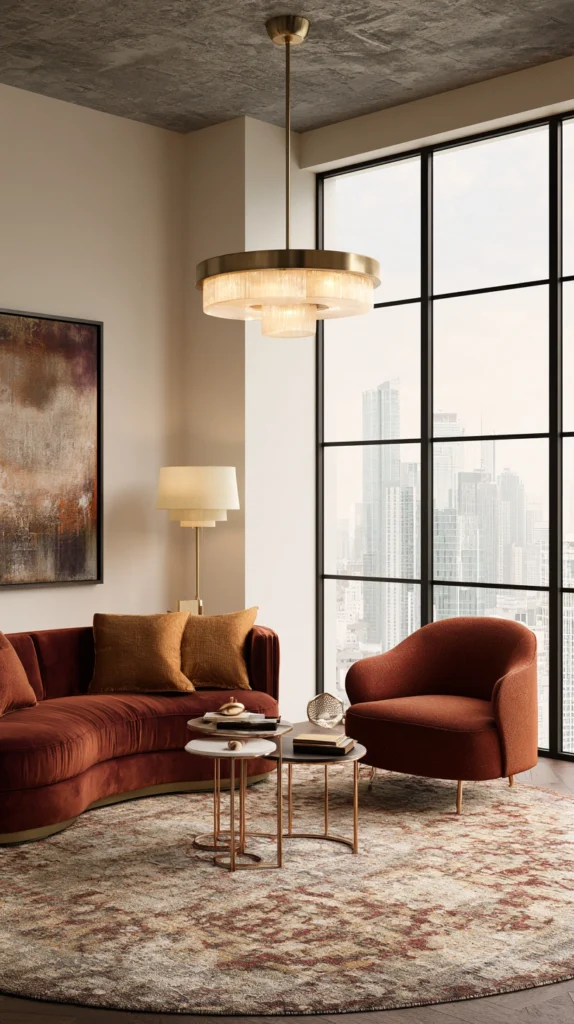
Budget: $0
The small living room that works best is always the one that contains only the furniture it genuinely needs rather than the furniture that arrived over time and has remained because removing it felt like an admission of inadequacy. The chair that is never used, the side table that serves only as a surface for accumulated objects, the bookcase that is in the living room because there was nowhere else to put it — each of these pieces consumes floor area and contributes nothing to the room’s primary function that the remaining furniture cannot provide without them.
Remove one piece of furniture from the small living room — the one that is used least or contributes least to the room’s primary purpose — and live with the result for two weeks before deciding whether to replace it with something more appropriate or simply to maintain the additional floor space it created. Almost every small living room benefits from this reduction experiment, and a significant proportion of the small living rooms that feel most consistently generous and most consistently pleasant to spend time in are the ones that contain one fewer piece of furniture than their owner initially believed was the minimum required.
Layout tip: When assessing which furniture piece to remove, photograph the room from the main entry point before making any changes and assess each furniture piece’s contribution to the composition visible in the photograph. The piece that adds least to the composition, that is most easily overlooked, or that most disrupts the traffic path or sight line from the door is the correct candidate for removal. The photograph shows the composition objectively and consistently reveals the piece that the eye inside the room has grown so accustomed to that its removal is no longer considered as an option.
The small living room that works is always the result of furniture arranged for the people using it rather than for the room containing it — the seating positioned for conversation rather than for perimeter coverage, the traffic paths kept clear rather than filled, the light paths kept open rather than obstructed, and the furniture count kept at the minimum that provides every function required rather than the maximum that the floor area can technically accommodate without direct physical contact between adjacent pieces.
Rearrange before you buy anything new. The right layout is almost always available within the existing furniture if it has not yet been tried. Move the sofa away from the wall, clear the path from the door to the window, establish the rug as the seating zone’s anchor, and assess the result before spending a pound. The majority of small living room problems are layout problems, and layout problems are free to solve.