12 Halloween Entryway Ideas That Set the Mood
Three years ago my entryway for Halloween was one plastic pumpkin bucket and a bag of candy on the porch step.
Trick-or-treaters walked right past my house to the one two doors down with the fog machine and the spider webs stretched across the whole porch.
My kids noticed too. They kept asking why our house wasn’t “the cool one” on the street.
So I spent one October weekend and about $180 rebuilding our entryway from scratch. The next year, we had a line of kids waiting on the sidewalk.
Here’s exactly what I did, idea by idea, so you can build an entryway that actually stops people instead of one they walk past.
Why Most Halloween Entryways Fall Flat
Most Halloween entryways fail for the same handful of reasons, no matter how much money gets spent on decorations.
- Everything is placed at ground level, so nothing is visible from the street until guests are already at the door
- Lighting is either too bright, which kills the mood, or too dark, which makes the space feel unsafe
- Decorations compete instead of building a single scene, so the space looks cluttered rather than intentional
- There’s no sound or movement, which is what actually makes people stop and look twice
- Nothing is weatherproofed, so a week of wind or rain wrecks the whole setup by mid-October
Fixing these five issues is what separates a memorable entryway from a pumpkin on a step.
1. A Fog Machine at Ground Level
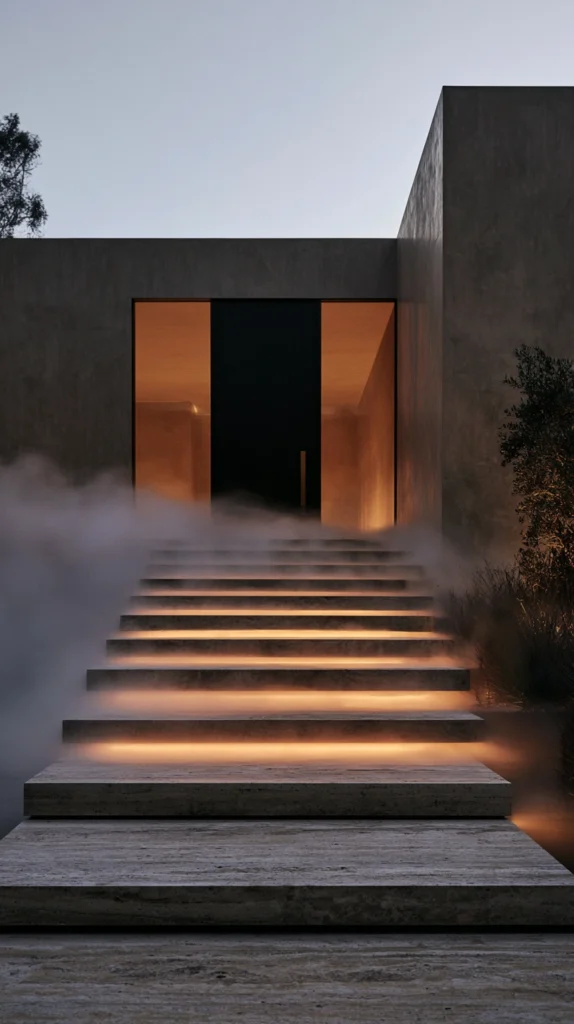
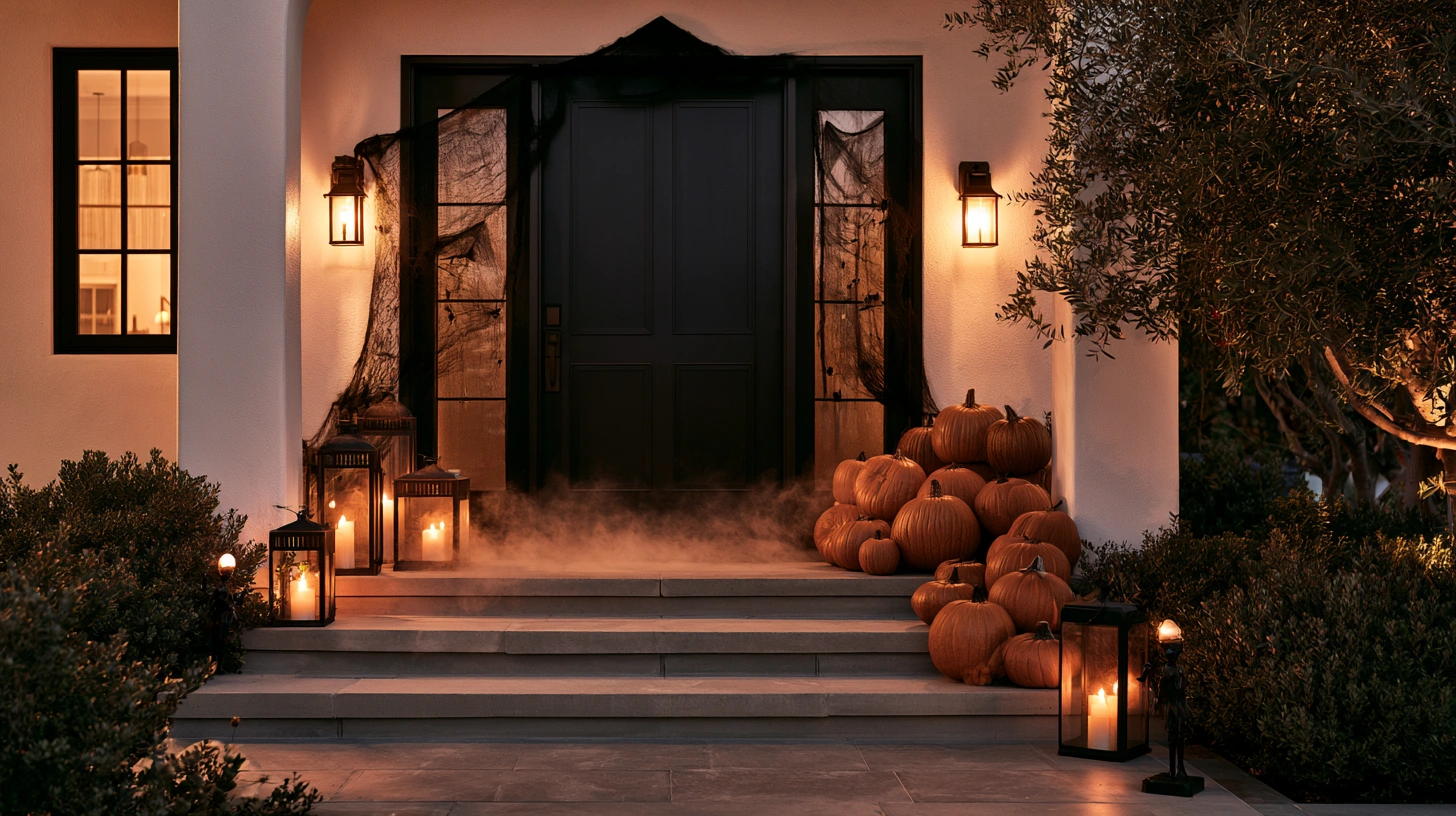
Fog rolling low across the entryway floor is the single most requested effect once people see it in person.
How it comes together:
- Use a compact fog machine designed for home use, not a full-size party model, since entryways don’t need much coverage
- Position it just inside the door frame or behind a low prop so the machine itself stays hidden
- Run it on a timer or remote so it kicks on right as guests approach, not continuously all evening
- Use fog fluid rated for outdoor temperatures if your entryway isn’t fully enclosed
Where it works best:
- Covered porches or entryways with low airflow, since open windy areas disperse fog too fast to see
Watch out for:
- Running it non-stop, which burns through fluid fast and stops feeling special after the first hour
Budget: $35–$70 for a basic machine, plus $10–$15 for fluid refills
2. Layered Cobwebs With Real Depth
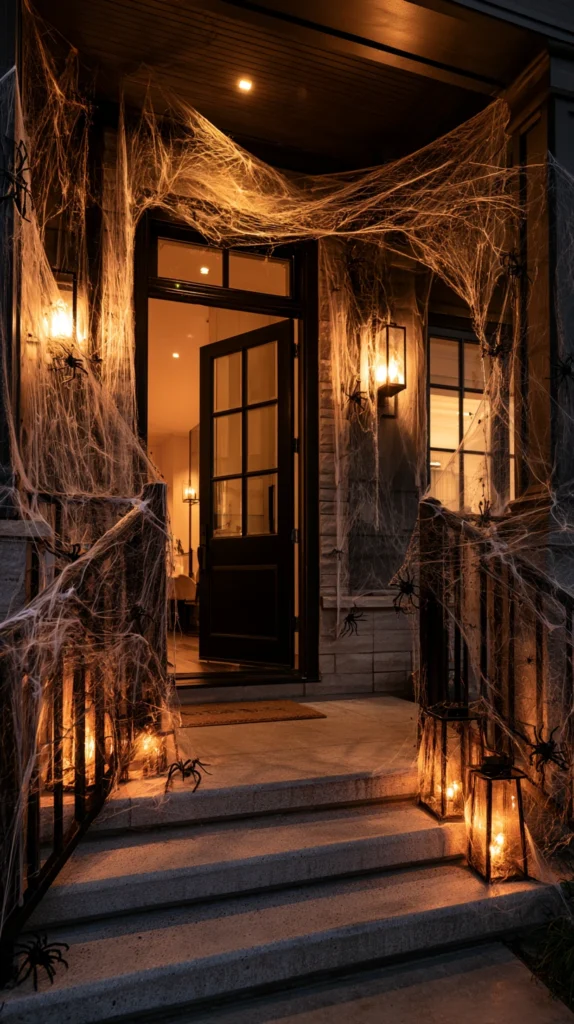
Store-bought cobweb bags look thin and flat straight out of the package. Layering fixes that completely.
How it comes together:
- Stretch the first layer tight across corners and railings as your base structure
- Pull a second layer loose and bunch it in clumps rather than stretching it flat, which creates real depth and shadow
- Add small plastic spiders at different heights, not just at the center, so the eye keeps finding new detail
- Spray a light mist of water on synthetic webbing before styling, since damp webbing holds shape and texture better
Where it works best:
- Railings, doorframes, and any corner where two surfaces meet, since webs read as more realistic in corners
Watch out for:
- Overstretching a single bag too thin across a wide space, which is the main reason cobwebs look cheap
Budget: $8–$20 for enough webbing and spiders to cover a full entryway
3. A Motion-Activated Prop Near the Path
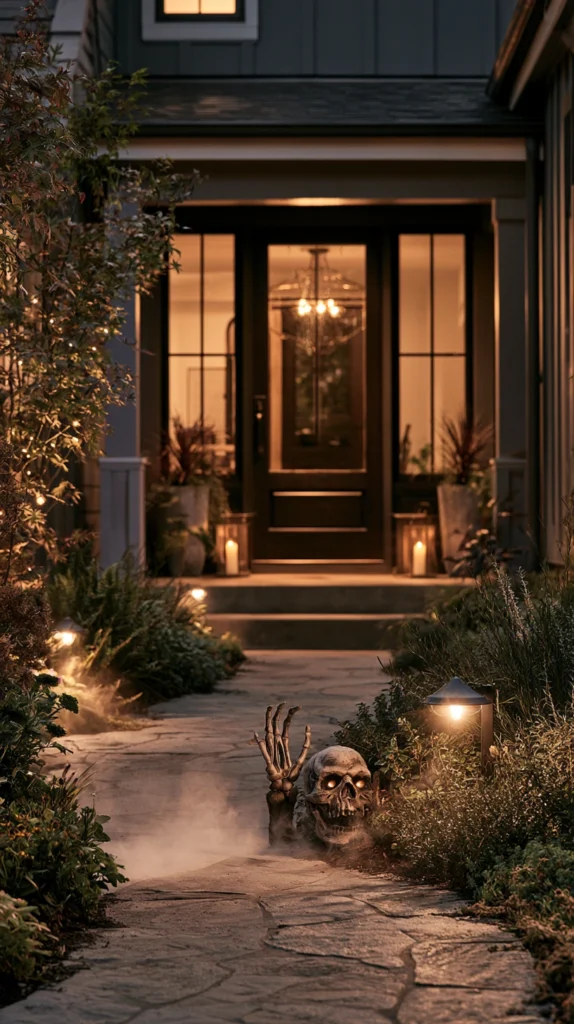
A single well-placed motion-activated prop does more for the scare factor than five static decorations combined.
How it comes together:
- Choose one focal prop, like a reaching hand, a rising figure, or a startled crow, rather than several competing at once
- Position the motion sensor along the actual walking path, not off to the side where it won’t trigger reliably
- Test trigger distance and timing before the first night of trick-or-treating, since sensors vary widely by brand
- Keep batteries fresh, since a slow or delayed prop response breaks the effect entirely
Where it works best:
- Right along the walkway leading to the door, where guests are guaranteed to pass close enough to trigger it
Watch out for:
- Placing more than one or two motion props close together, since overlapping triggers create a chaotic, less effective moment
Budget: $30–$90 depending on the prop chosen
4. Warm Flickering Light Instead of Bright White
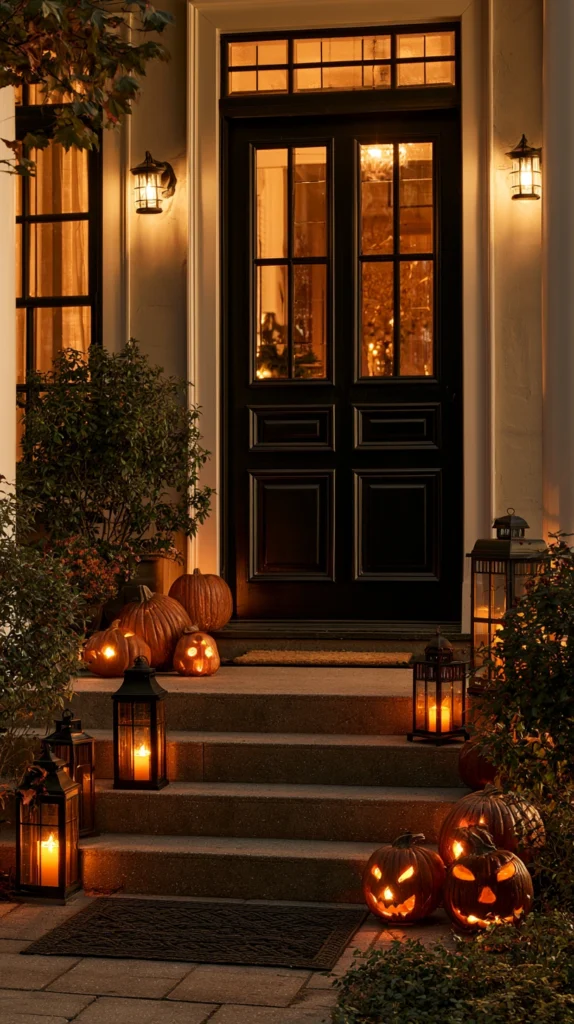
Lighting sets the entire mood of an entryway, and bright white light kills a spooky scene faster than any missing decoration.
How it comes together:
- Swap porch bulbs for warm amber or orange-toned LED bulbs rated for flicker effects
- Add battery-operated flameless candles along the entry path for a flickering, uneven glow
- Use uplighting behind larger props, like pumpkins or skeletons, to cast dramatic shadows upward
- Keep the actual doorway slightly brighter than the path, so guests can still see the door clearly
Where it works best:
- Walkways, stair railings, and any spot where you want texture and shadow rather than flat illumination
Watch out for:
- Making the space so dark that trick-or-treaters or delivery guests can’t safely see steps or uneven ground
Budget: $25–$60 for bulbs and flameless candles
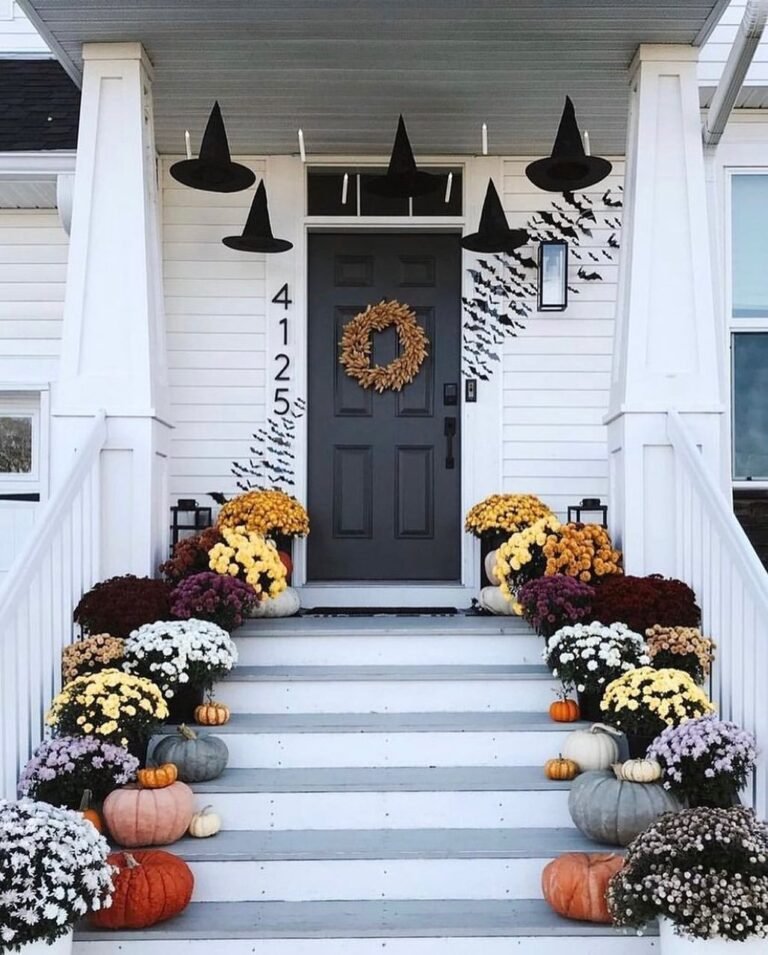
5. A Pumpkin Display Built in Tiers, Not a Single Row
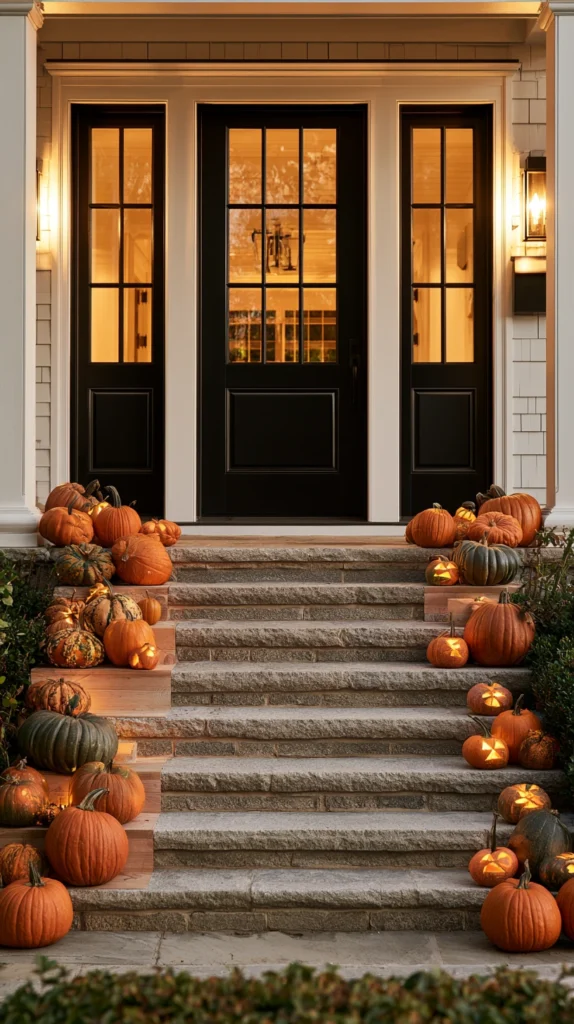
A single line of pumpkins along a step looks flat from the street. Building height changes the entire visual impact.
How it comes together:
- Use plant stands, overturned crates, or stacked cinder blocks hidden under fabric to create different heights
- Group pumpkins in odd numbers, like three or five, at each tier rather than spacing them evenly
- Mix real and high-quality faux pumpkins, since faux ones hold up through weather while real ones add authentic texture up front
- Vary the pumpkin sizes at each tier so the display reads as full even with a smaller total pumpkin count
Where it works best:
- Porch steps, entry landings, or any spot with at least two feet of depth to build tiers
Watch out for:
- Using all identical-sized pumpkins, which is the main reason tiered displays can still look flat despite the height variation
Budget: $40–$100 depending on how many pumpkins and how large
6. A Soundtrack Playing Softly From Hidden Speakers
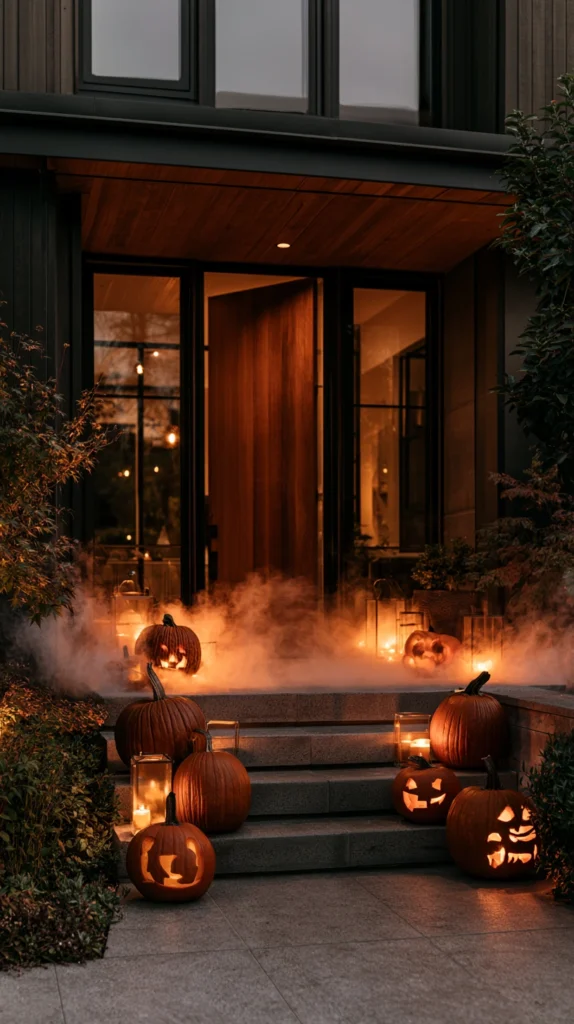
Visuals alone only do half the work. A subtle soundtrack is what makes an entryway feel like a full scene instead of a static display.
How it comes together:
- Use a small weatherproof outdoor speaker tucked behind a prop or planter, not left visible
- Choose ambient sounds like distant wind, creaking wood, or low chimes rather than jump-scare sound effects on loop
- Keep volume low enough that it’s noticed only once guests are close, not blasting down the street
- Set it on a timer matching your actual trick-or-treating hours so it isn’t running all day and night
Where it works best:
- Entryways with some enclosure, like a covered porch, where sound doesn’t disperse into open air immediately
Watch out for:
- Looping a single short sound clip, since repetition becomes noticeable and annoying within twenty minutes
Budget: $25–$50 for a basic weatherproof speaker
7. A Themed Color Palette Instead of Random Decorations
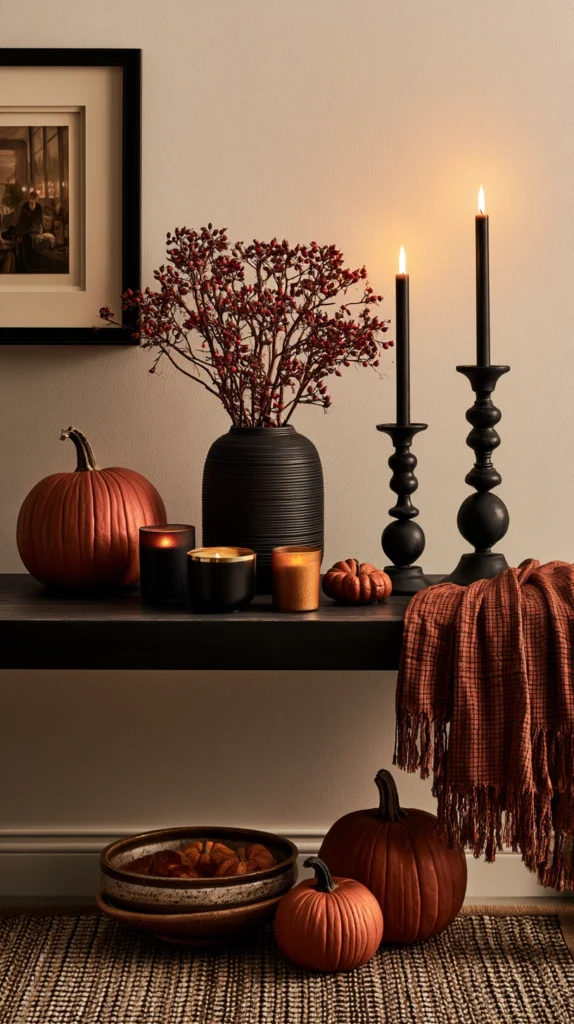
The most cohesive-looking entryways commit to two or three colors instead of mixing every Halloween color available.
How it comes together:
- Pick a base palette, like black and orange, purple and green, or all-white ghostly tones
- Choose lighting, pumpkins, and fabric elements that all fall within that palette rather than buying whatever’s on sale
- Use one accent color sparingly, like a single red light or ribbon, to draw the eye to a focal point
- Repaint or spray-paint plain plastic decorations if their factory color doesn’t match your chosen palette
Where it works best:
- Any entryway, since this is more about buying discipline than physical space
Watch out for:
- Adding a new color every year without removing older mismatched pieces, which slowly erodes the cohesive look over time
Budget: $0–$40 depending on how much needs replacing or repainting
8. A Focal Point That Tells a Story
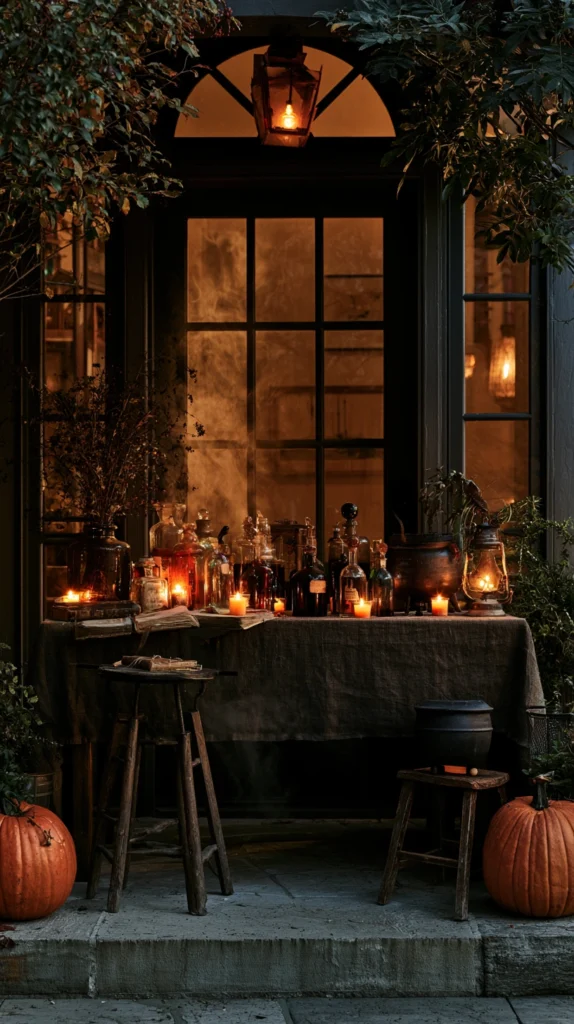
Random scattered props read as clutter. A single scene with a clear story reads as intentional and gets remembered.
How it comes together:
- Choose one simple narrative, like a witch’s potion table, a graveyard scene, or a crumbling mad scientist lab
- Build every other decoration in the entryway to support that one scene rather than standing alone
- Use thrifted glass bottles, old books, or discarded furniture pieces as scene props instead of buying a full themed kit
- Keep the scene contained to one clear area so it doesn’t blur into unrelated decorations nearby
Where it works best:
- Wider entryways or porches with enough space to build a small set rather than just a doorway
Watch out for:
- Trying to tell two stories in one small space, which usually confuses the scene rather than adding to it
Budget: $20–$80 depending on props sourced secondhand versus new
9. A Clear, Safe Walking Path Built Into the Design
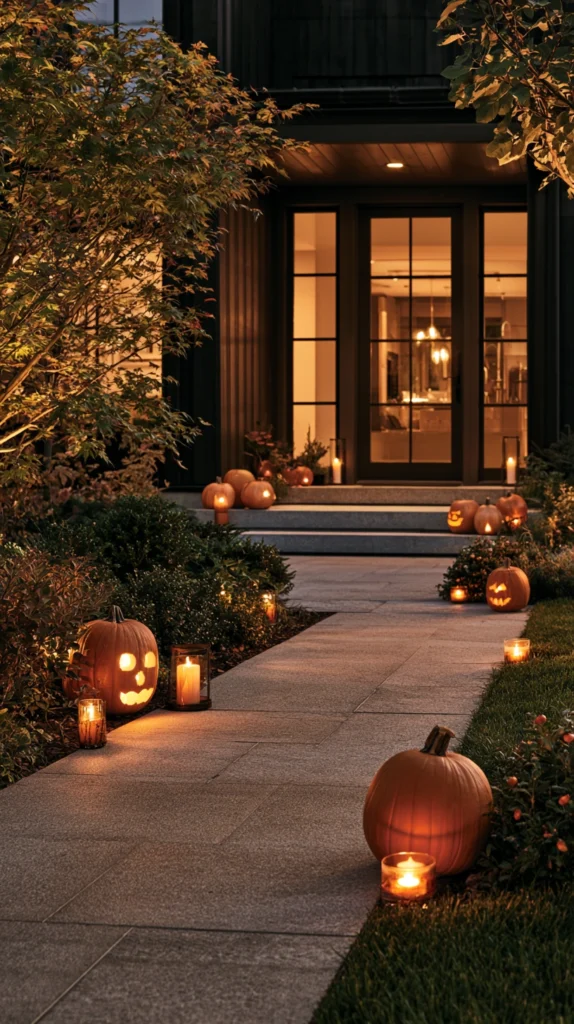
The spookiest entryway still needs to be safe to walk through, especially for younger trick-or-treaters and parents carrying candy buckets.
How it comes together:
- Keep the actual walking path at least three feet wide and completely clear of props or cords
- Tape down or bury any extension cords running across the path rather than leaving them exposed
- Add small path lights along the edges so the walkway itself stays visible even in a dim, moody scene
- Test the full walk-through yourself at night before the first trick-or-treaters arrive
Where it works best:
- Every entryway, regardless of theme, since this is a safety baseline rather than a style choice
Watch out for:
- Prioritizing the scene over the path, which is the most common cause of trips and falls during busy trick-or-treating hours
Budget: $15–$30 for basic path lighting and cord covers
10. A Doorbell or Knocker Prop With Its Own Effect
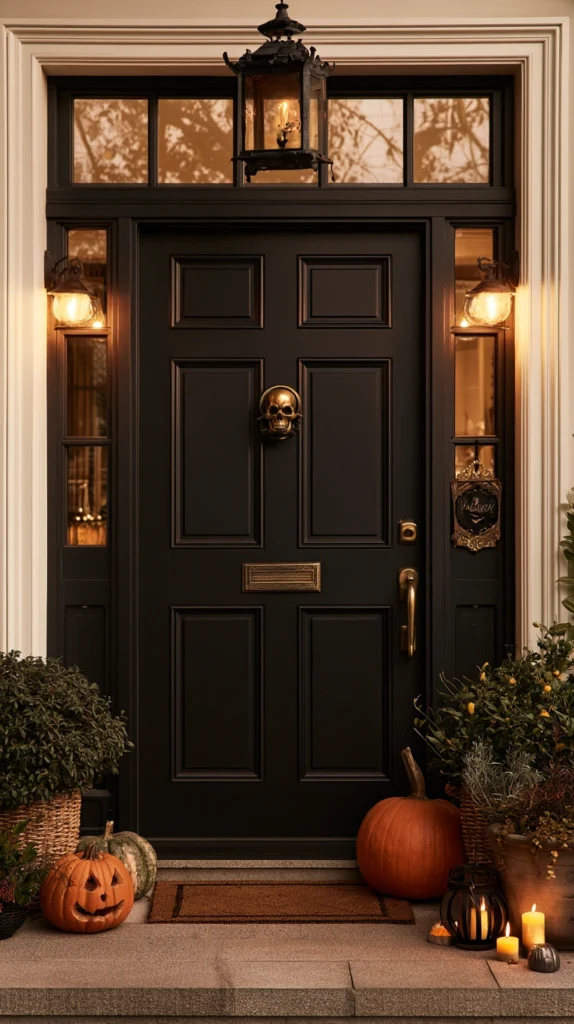
Small details near the actual door get noticed because they’re the last thing guests interact with before you open it.
How it comes together:
- Swap a standard doorbell cover for a themed one, like a skull or spider design, sold as simple stick-on covers
- Add a prop knocker, like a gargoyle or skeletal hand, if your door style allows for one
- Include a small sign near the door with a playful warning or greeting to set expectations before the door opens
- Keep this detail simple, since it’s meant to be a small final touch, not a competing focal point
Where it works best:
- Right at the door itself, as the last beat of the overall entryway scene
Watch out for:
- Choosing a knocker or bell cover that blocks actual use of the doorbell, which creates confusion for guests
Budget: $10–$25 for a themed doorbell cover or knocker
11. A Candy Station That Doesn’t Require Constant Door-Opening
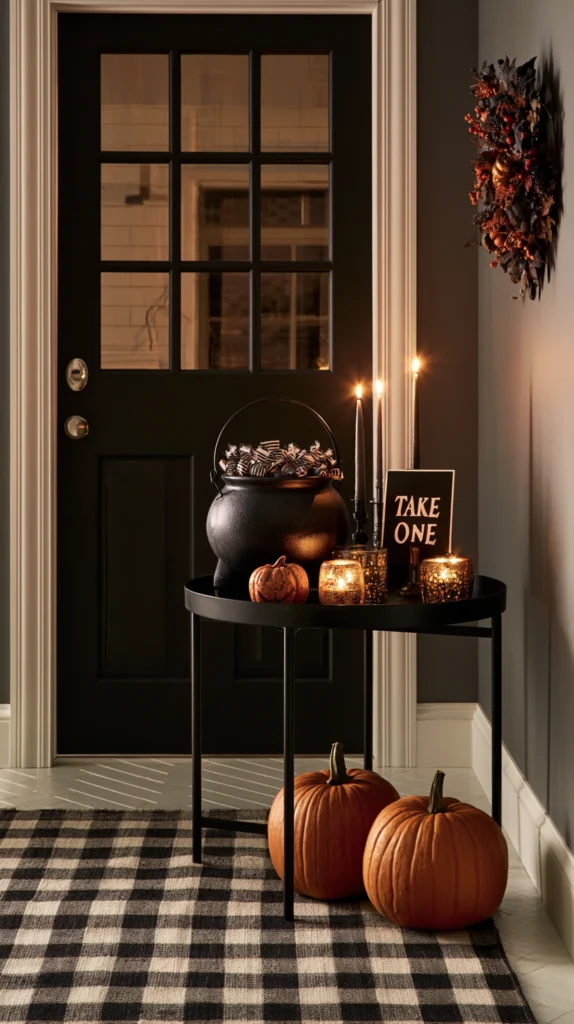
Constantly opening the door breaks the mood of the scene and slows down the line if trick-or-treating gets busy.
How it comes together:
- Set up a small table or cart near the entryway, styled to match your scene, for self-serve candy grabbing
- Use a covered cauldron or bin to keep candy protected from weather without blocking access
- Add a simple sign inviting guests to take their own candy rather than waiting for the door
- Keep a backup supply just inside the door in case the station runs low mid-evening
Where it works best:
- High-traffic streets or neighborhoods where trick-or-treaters come in large groups
Watch out for:
- Leaving candy fully exposed to rain or wind, which ruins packaging faster than people expect
Budget: $15–$40 for a themed table setup and candy container
12. Weatherproofing Everything Before the First Week of October
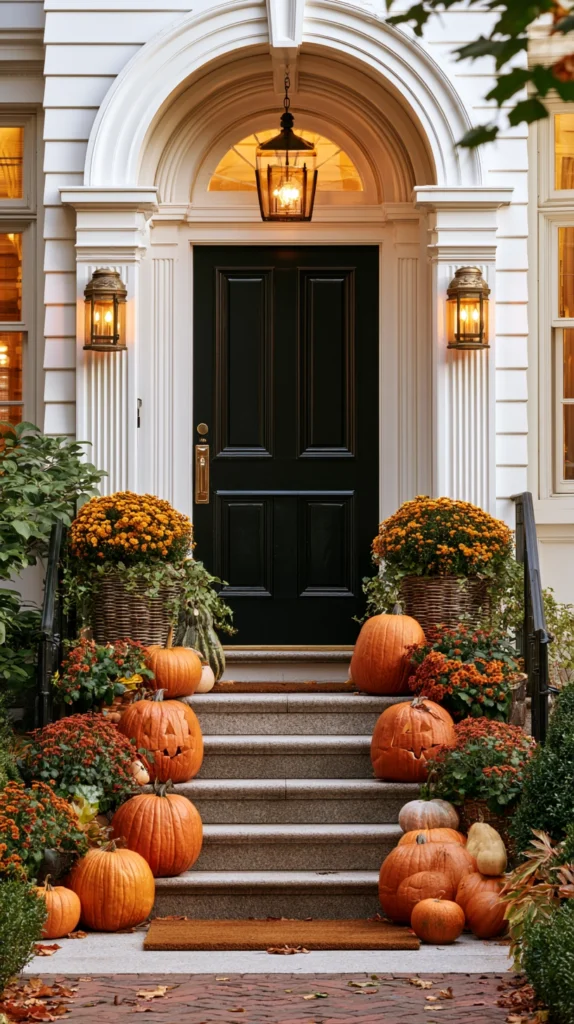
An entryway that looks perfect on day one but falls apart by week two undoes all the effort put into building it.
How it comes together:
- Use outdoor-rated extension cords and timers rated for the exposure your entryway actually gets
- Choose weather-resistant fabric for any draped elements, since standard fabric mildews and sags quickly outdoors
- Secure lightweight props with stakes or weighted bases so wind doesn’t scatter them overnight
- Do a quick weekly check throughout October to catch fading, sagging, or battery issues before they become visible problems
Where it works best:
- Every entryway, since this step protects the investment made in every other idea on this list
Watch out for:
- Assuming indoor-rated decorations will hold up outdoors just because they’re marketed as Halloween decor
Budget: $20–$50 for weatherproofing supplies and stakes
Getting Started This Weekend
Walk to the edge of your sidewalk and look back at your entryway the way a trick-or-treater actually will, since most people only ever look at it from the doorway itself.
Start with lighting and one focal prop before adding anything else, since those two changes affect the mood more than any other single decision.
Test everything, including fog machines and motion props, after dark at least once before the first night of trick-or-treating.
The Question Before You Decorate Anything
Before buying more decorations, ask yourself whether your entryway currently tells one clear story or just displays a collection of separate Halloween items.
If it’s the second one, start pulling pieces back to fit a single scene rather than adding more.
Once that scene feels solid, layer in the smaller details from this list, the same way I rebuilt mine one October weekend at a time.