How to Transition Your Home Decor From Halloween to Thanksgiving
For years I did the same thing every November 1st. I threw every Halloween decoration into bins, packed them into the garage, and left my house completely bare for two full weeks until I got around to pulling out fall decor.
My husband started calling it “the empty house phase,” and honestly, he wasn’t wrong.
Last year I finally sat down and figured out which pieces could actually bridge both holidays, instead of treating the switch like a total demolition and rebuild.
It took one afternoon instead of two separate weekends, and my house never had that awkward bare stretch in between.
Here’s exactly how I transition now, piece by piece, so you can go from Halloween straight into a warm, layered Thanksgiving look without starting from zero.
Why Most Holiday Transitions Feel So Disruptive
Most people struggle with this switch for the same handful of reasons every year.
- Halloween decor and Thanksgiving decor get treated as two completely separate categories with nothing in common
- Everything spooky gets removed in one pass, leaving rooms bare before new decor goes up
- Pumpkins, often the biggest investment of the season, get thrown out instead of restyled
- Color palettes shift too abruptly, going from black and orange straight to a totally different scheme overnight
- People wait until the weekend before Thanksgiving to start, which turns a simple swap into a rushed scramble
Once I stopped treating this as two separate holidays and started treating it as one long transition, the whole process got easier.
1. Keep Your Pumpkins, Just Change Their Company
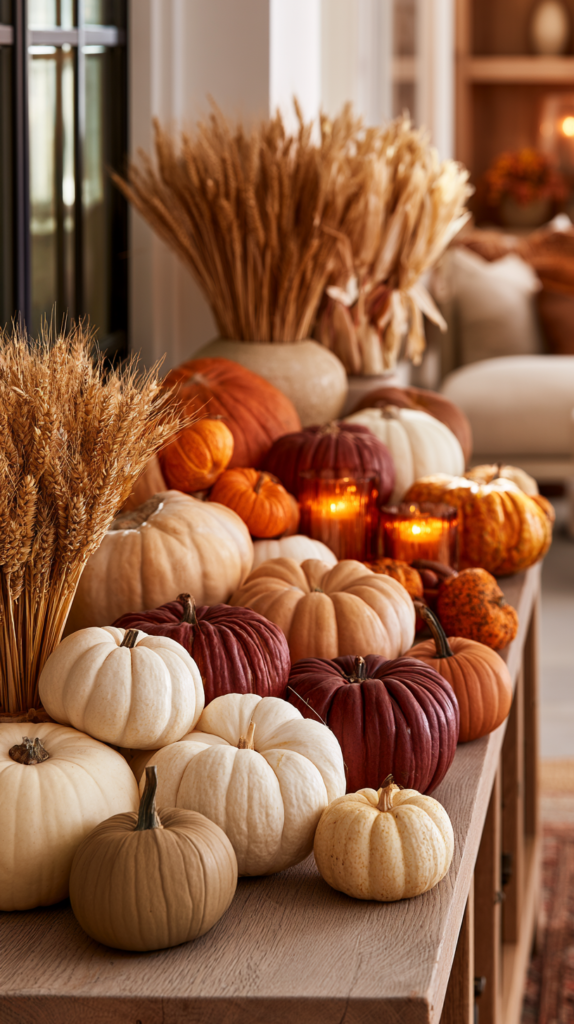
Real and faux pumpkins are the one decor item that genuinely works for both holidays, so there’s no reason to pack them away.
How it comes together:
- Remove any black, orange-lit, or carved pumpkins, since carved ones won’t last past early November anyway
- Keep natural, unpainted pumpkins and gourds in white, cream, and muted orange tones
- Add in new pieces like mini pumpkins in deeper burgundy or brown tones to shift the palette warmer
- Group pumpkins with wheat stalks or dried corn instead of spiders or skeletons for an instant seasonal shift
Where it works best:
- Entry tables, porch steps, and mantels, since these are usually pumpkin-heavy spots already
Watch out for:
- Real pumpkins that have started to soften or mold by early November, which need to be composted rather than displayed
Budget: $15–$40 for a few new mini pumpkins and gourds to round out your existing stock
2. Swap the Color Accents Before Swapping Everything Else
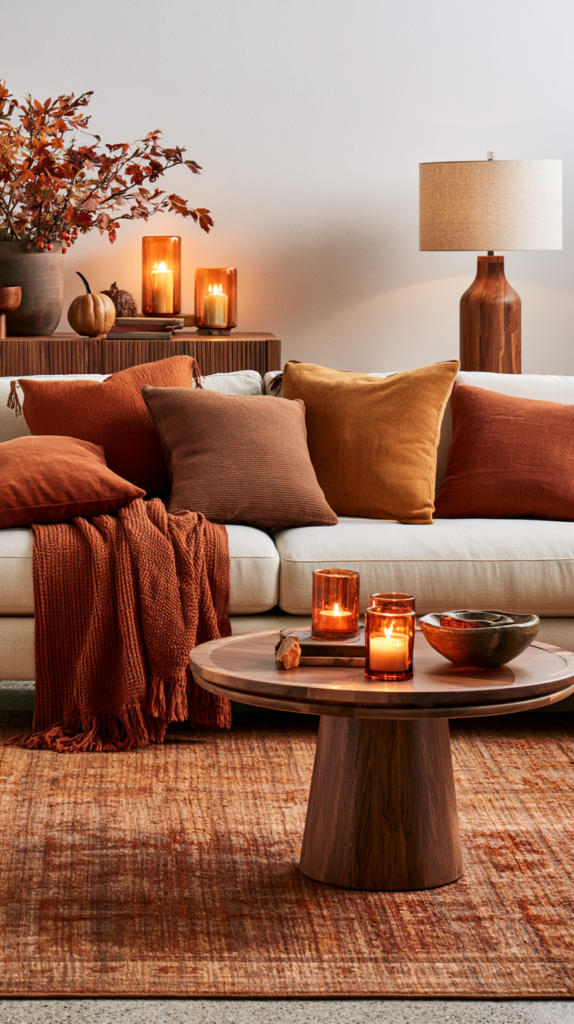
Small colored accents change a room’s mood faster than any large decor piece, which makes them the easiest first move.
How it comes together:
- Remove black and neon orange accent pieces, like throw pillows or ribbon, first
- Replace with deep rust, mustard, and warm brown tones, which read as Thanksgiving without feeling like a hard reset
- Keep one or two orange pieces if they’re a more muted, natural shade rather than a bright Halloween orange
- Update runners and tablecloths last, since these are usually the most visible color statement in a room
Where it works best:
- Living rooms and dining rooms, where accent colors do the most visual work
Watch out for:
- Buying an entirely new set of accent colors instead of checking whether muted pieces from your existing collection already work
Budget: $30–$80 for a few new pillow covers, a runner, or ribbon accents
3. Retire the Spooky, Keep the Rustic
A lot of Halloween decor is actually just rustic or natural material decor with a spooky theme layered on top, and that base layer often works fine into Thanksgiving.
How it comes together:
- Remove anything explicitly spooky, like spiderwebs, skeletons, or bats
- Keep natural wood signs, wicker baskets, and burlap elements if they aren’t printed with Halloween imagery
- Repurpose neutral wood crates or stands used for pumpkin displays into the base for a Thanksgiving centerpiece
- Set aside anything with a plain, neutral base for reuse instead of donating or storing it away
Where it works best:
- Entryways and mantels, where rustic base pieces tend to accumulate over the fall season
Watch out for:
- Assuming every “fall” item is automatically appropriate for both holidays, since some pieces skew heavily Halloween despite being labeled generically
Budget: $0, this step is about sorting what you already own
4. Layer In Warmth With Texture, Not Just Color
Thanksgiving decor leans heavily on texture, like knits, wood grain, and dried florals, which is a different feeling from Halloween’s flatter, graphic style.
How it comes together:
- Add a chunky knit throw or table runner to introduce texture that Halloween decor typically lacks
- Bring in dried wheat, pampas grass, or eucalyptus stems to centerpieces and mantel arrangements
- Swap smooth, glossy Halloween pieces for matte, natural-finish items like unglazed ceramic or raw wood
- Use layered candles in varying heights instead of a single flat grouping
Where it works best:
- Dining tables and coffee tables, since texture reads most clearly at close range
Watch out for:
- Overloading one surface with too many textures at once, which can look cluttered rather than cozy
Budget: $25–$70 for a throw, dried stems, and a few candles
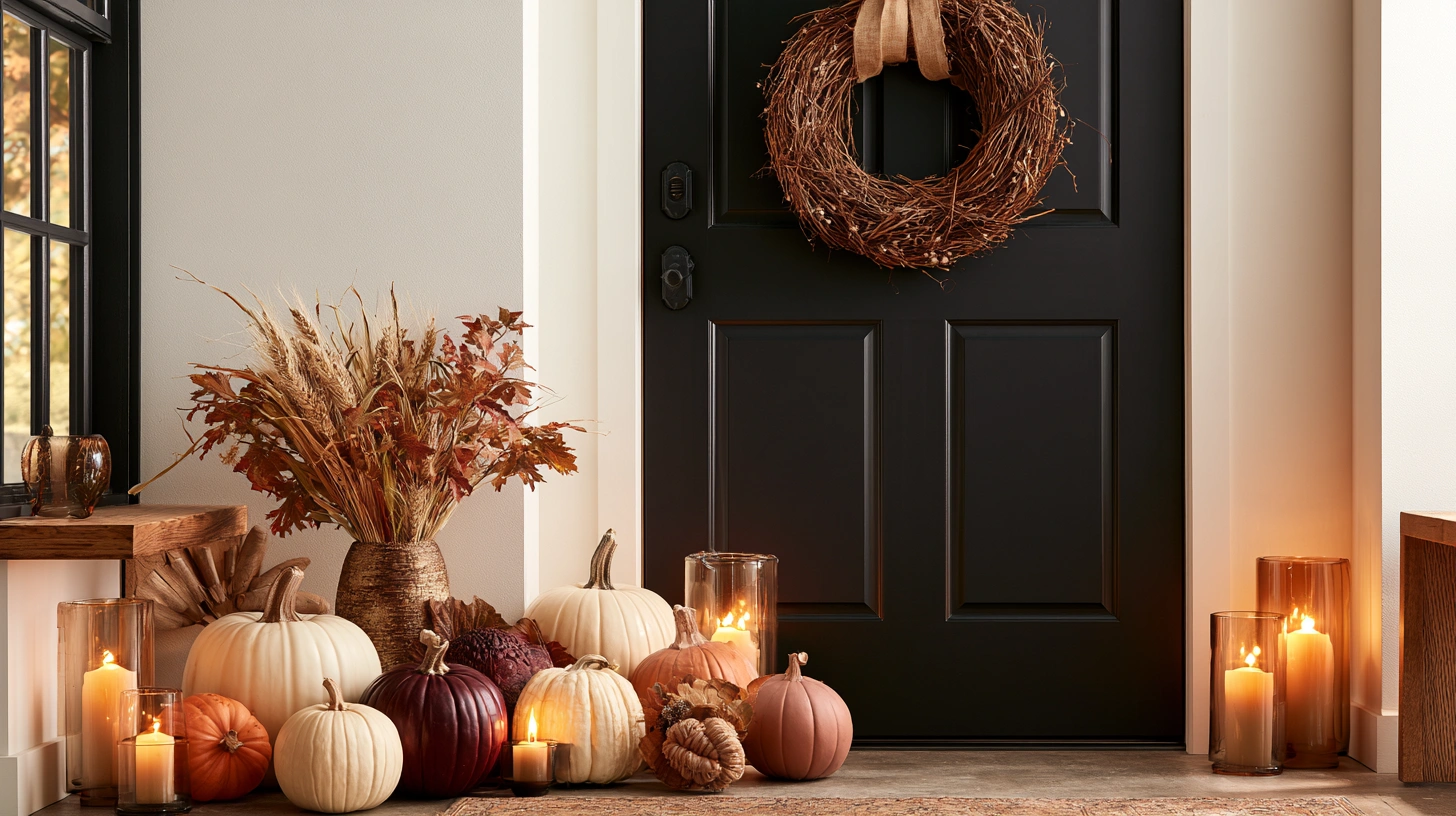
5. Transition the Wreath Instead of Replacing It Twice
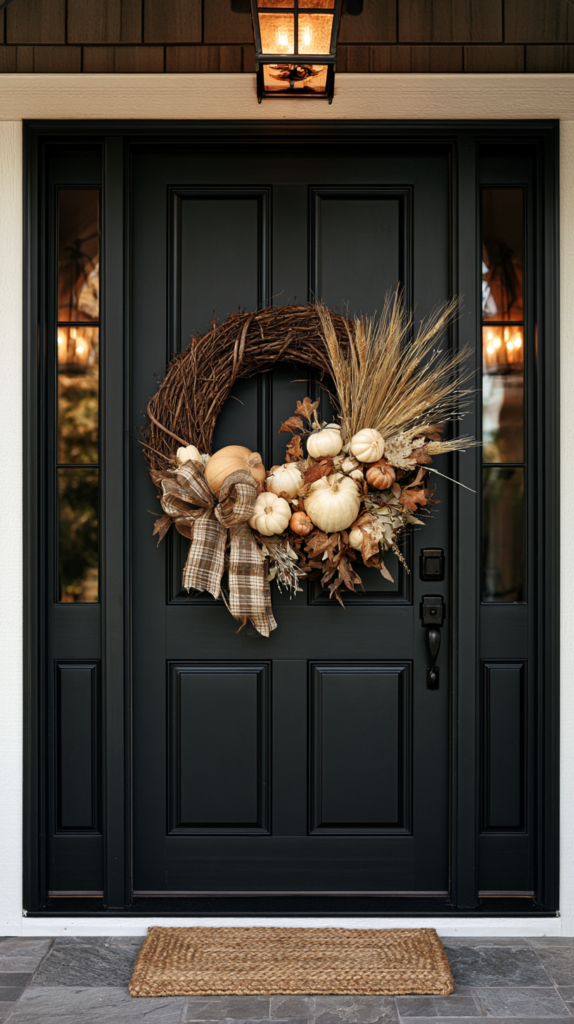
Your front door wreath is one of the most visible decor pieces in your entire home, and it doesn’t need a full replacement for each holiday.
How it comes together:
- Choose a base wreath in a neutral material, like grapevine or eucalyptus, that works across both seasons
- Swap small clip-on accents, like miniature pumpkins or ribbon, rather than buying an entirely new wreath
- Move from black or orange ribbon to a plaid or burlap ribbon in warm tones for the Thanksgiving shift
- Store the swapped-out Halloween accents separately so next year’s transition takes minutes, not an afternoon
Where it works best:
- Front doors and interior focal walls, anywhere a single wreath serves as a seasonal anchor
Watch out for:
- Buying a wreath base so specifically Halloween-themed that it can’t be adapted later, which forces a full replacement every year
Budget: $20–$45 for a neutral base wreath plus swappable accent pieces
6. Rework the Mantel in Layers, Not One Big Swap
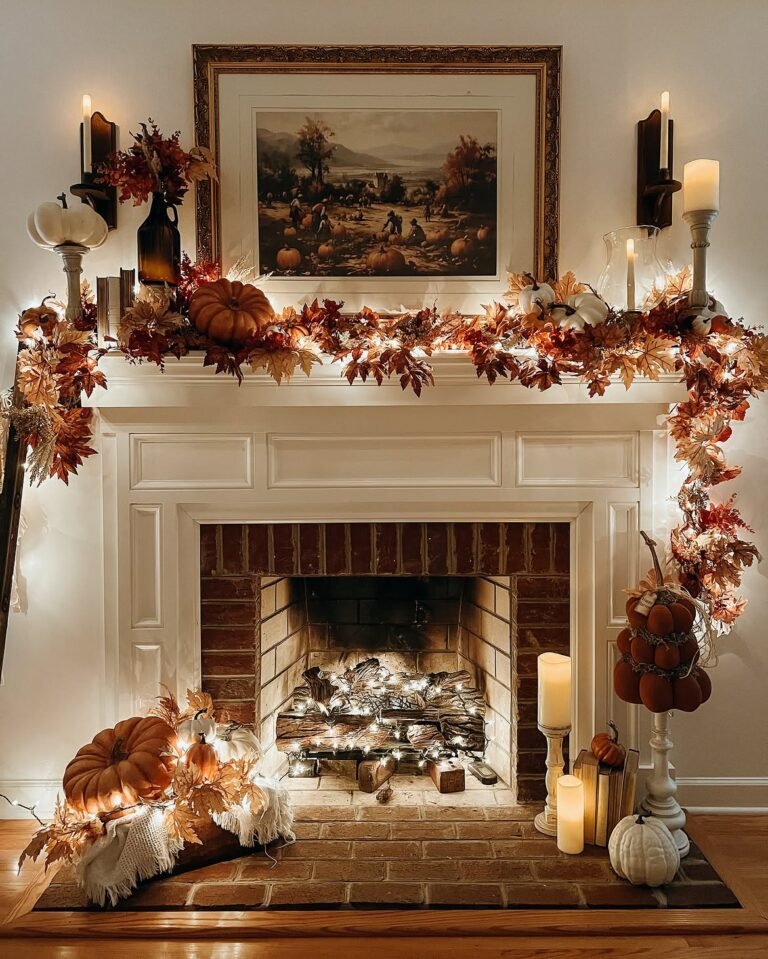
The mantel is usually the most decorated surface in the house for both holidays, which makes a full teardown and rebuild the most time-consuming part of the transition.
How it comes together:
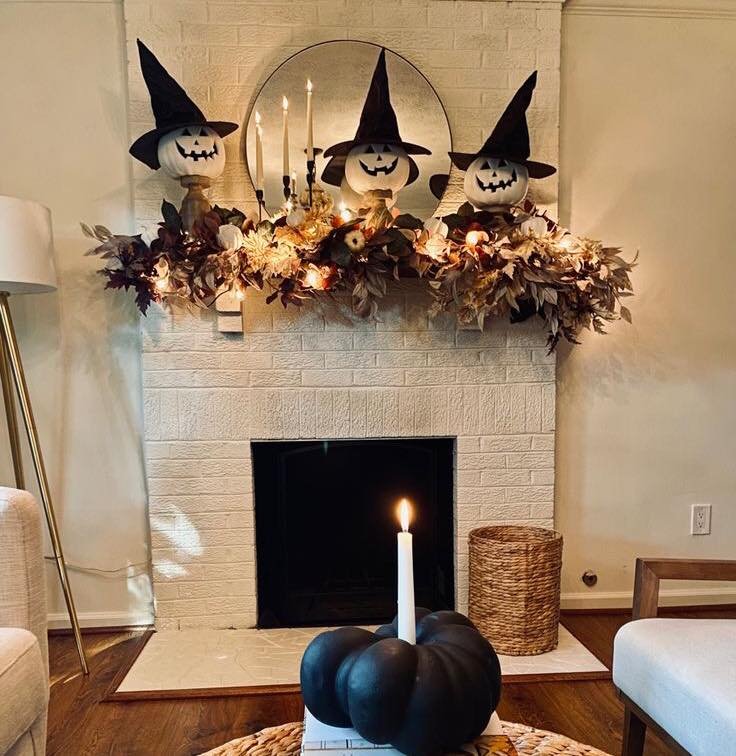
- Remove the top layer of purely Halloween items first, like bats or lit jack-o’-lanterns
- Leave the base layer of greenery, candles, or neutral vases in place as your foundation
- Add Thanksgiving-specific pieces, like a garland of dried leaves or a wooden “grateful” sign, into the gaps
- Step back and photograph the mantel from across the room to check balance before adding more
Where it works best:
- Living rooms with a fireplace mantel as the main seasonal display area
Watch out for:
- Removing every single item and starting from a bare mantel, which takes far longer than working in layers
Budget: $20–$60 for a few new Thanksgiving-specific accent pieces
7. Shift the Dining Table Last, Since It Gets the Most Use
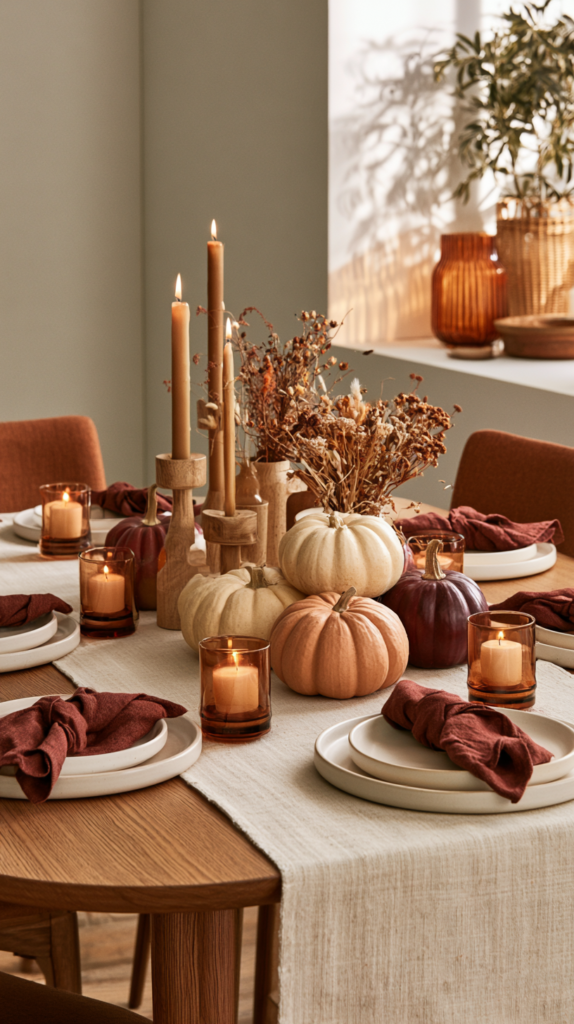
The dining table is where Thanksgiving decor matters most, so it’s worth saving your best new pieces and full attention for this space last.
How it comes together:
- Start with a base runner in a warm neutral tone, then build the centerpiece around it
- Use a mix of candle heights, dried florals, and a few kept-back pumpkins for the centerpiece itself
- Add cloth napkins in a deeper tone than your everyday set to elevate the table without a full new purchase
- Leave the table transition for the week before Thanksgiving, since it sees daily use and doesn’t need to shift as early as the rest of the house
Where it works best:
- The main dining table, especially if it will host the actual Thanksgiving meal
Watch out for:
- Rushing this space in the same afternoon as everything else, since it benefits from the most careful, deliberate styling
Budget: $40–$100 for a runner, napkins, and centerpiece additions
8. Time the Whole Transition Around One Weekend, Not One Day
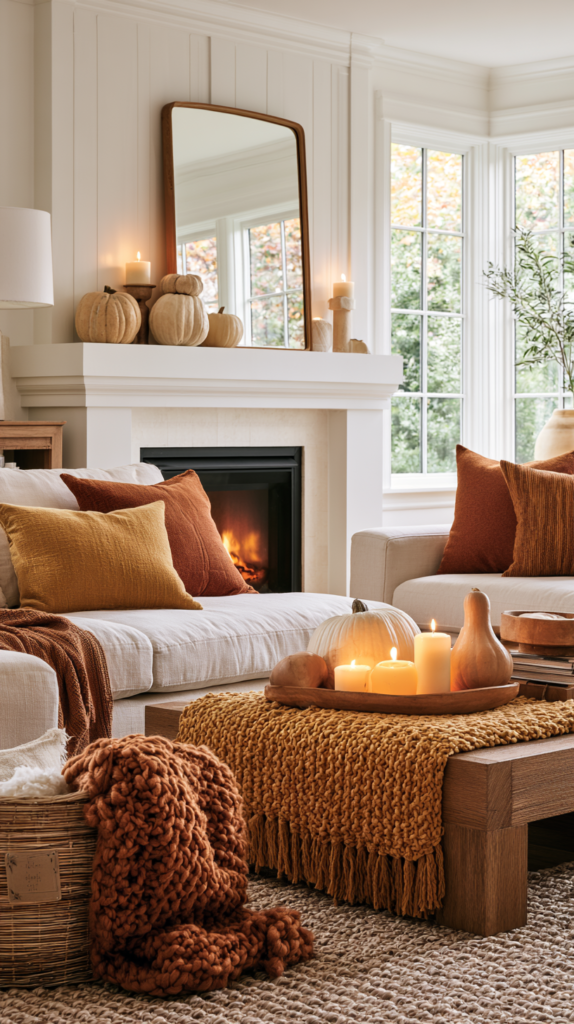
Trying to do this entire shift in a single evening is what makes the process feel overwhelming every year.
How it comes together:
- Do the sorting and removal of purely Halloween items on a Friday evening, so decisions aren’t rushed
- Handle color and texture layering on Saturday, once you can see the room with a clear, neutral base
- Save the dining table and any detailed centerpiece work for Sunday, when there’s more time to get it right
- Keep a small bin specifically for “dual-season” pieces so next year’s transition starts faster
Where it works best:
- Any home going through this shift, since pacing the work is more about time management than physical space
Watch out for:
- Waiting until the week of Thanksgiving to start, which turns a relaxed weekend project into a stressful scramble
Budget: $0, this step is about scheduling rather than purchasing
Getting Started This Weekend
Walk through your home room by room and sort your current Halloween decor into three piles: purely spooky, seasonally neutral, and dual-season pieces that can stay up.
Start with your pumpkins and wreath first, since those two items alone carry more of the transition than people expect.
Block off one full weekend on your calendar for the switch, rather than trying to squeeze it into a single free evening.
The Question Before You Pack Anything Away
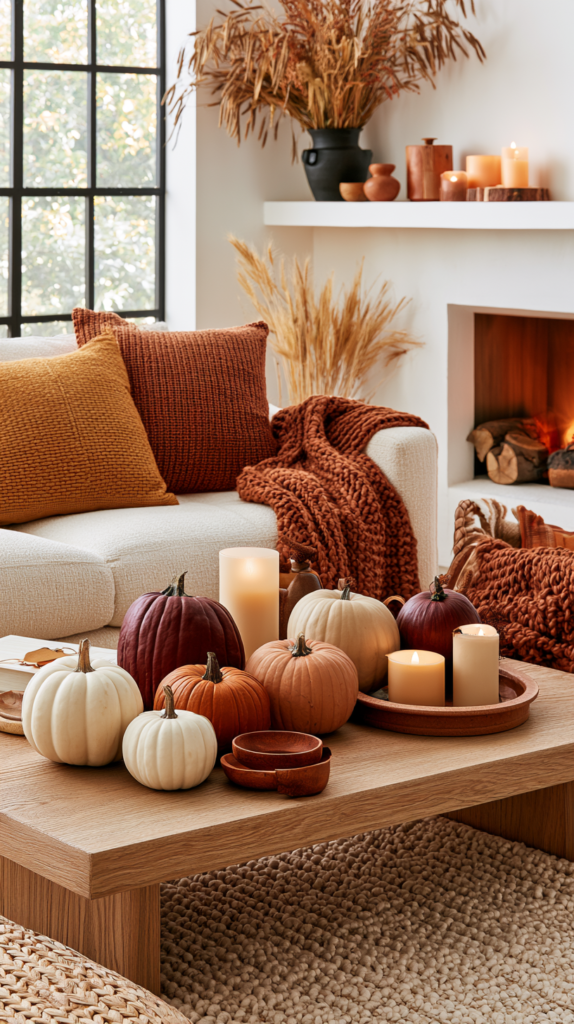
Before boxing up a single item, ask yourself whether it’s actually Halloween-specific or just fall-themed in general.
If it’s the second one, it likely has a place in your Thanksgiving decor too, just with a few small styling changes.
Once you’ve sorted what stays and what goes, work through the transition in layers, the same way I finally did last November instead of tearing everything down at once.