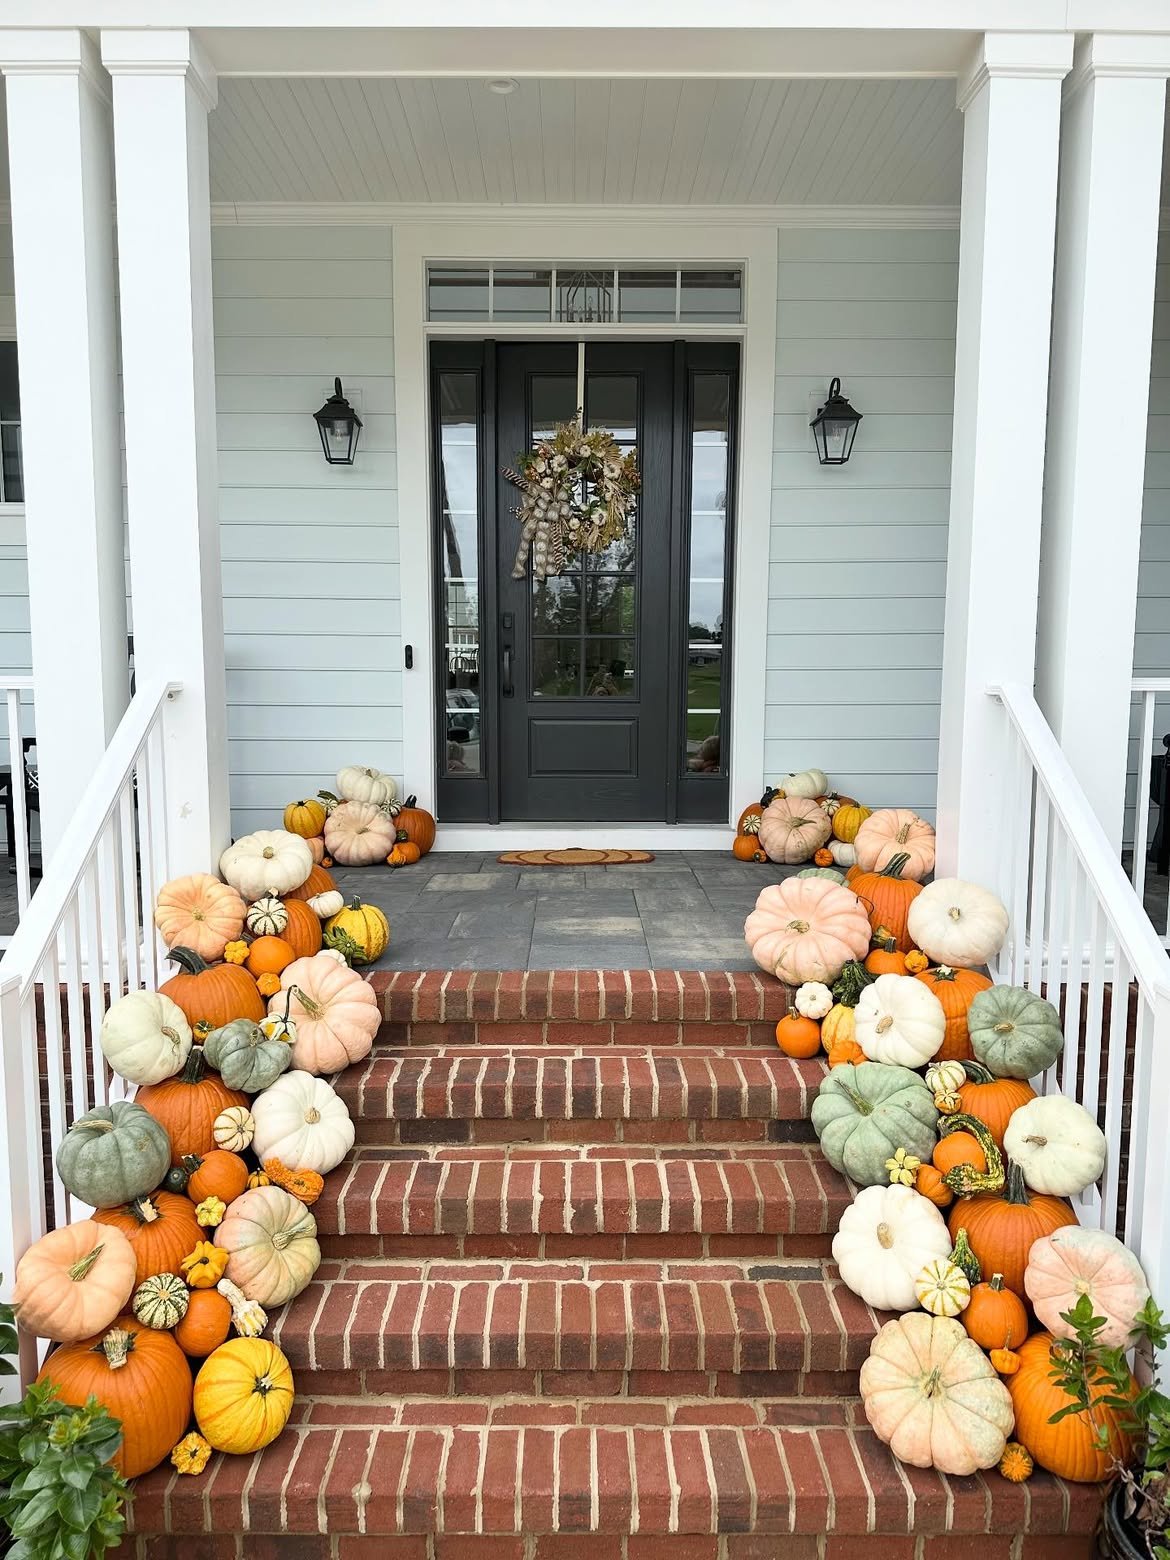
How to Style Faux Pumpkins So They Look Real
I bought my first faux pumpkin at a big box store three Octobers ago. It was orange. It was plastic. It looked like a pumpkin from across a parking lot.
Up close, it looked like exactly what it was. A hollow plastic shell with a seam running down one side and a painted stem glued on at an angle that no actual pumpkin stem has ever grown at.
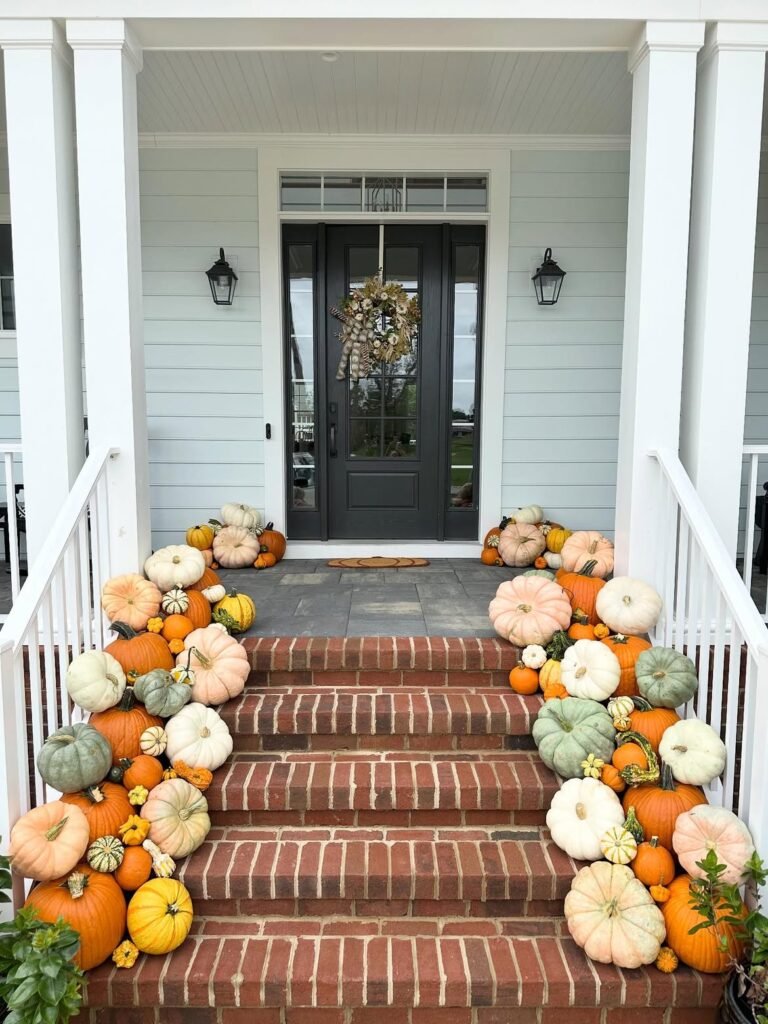
I put it on my porch anyway. I was busy that year, and a fake pumpkin felt better than no pumpkin.
A neighbor walked by, glanced at it, and said, “Cute pumpkin, is it real?”
I said yes. I don’t know why. It just came out.
She picked it up to admire it, felt the hollow plastic under her hand, and we both laughed. It was fine. It was funny, actually. But it also bugged me more than it should have.
So I went down a rabbit hole. Three years and probably forty faux pumpkins later, I can tell you exactly what makes a fake pumpkin look fake, and exactly what fixes it.
Here’s everything I’ve learned about styling faux pumpkins so they actually look like they grew somewhere.
The Problem Is Never the Pumpkin Itself
Here’s the thing nobody tells you when you start buying faux pumpkins.
The pumpkin is rarely the problem.
A decent faux pumpkin, even a cheap one, has a reasonably convincing shape these days. Manufacturers have gotten good at ribbing and curve and even subtle color variation.
The problem is almost always styling. It’s context. It’s the stuff around the pumpkin, and the way the pumpkin sits in a space.
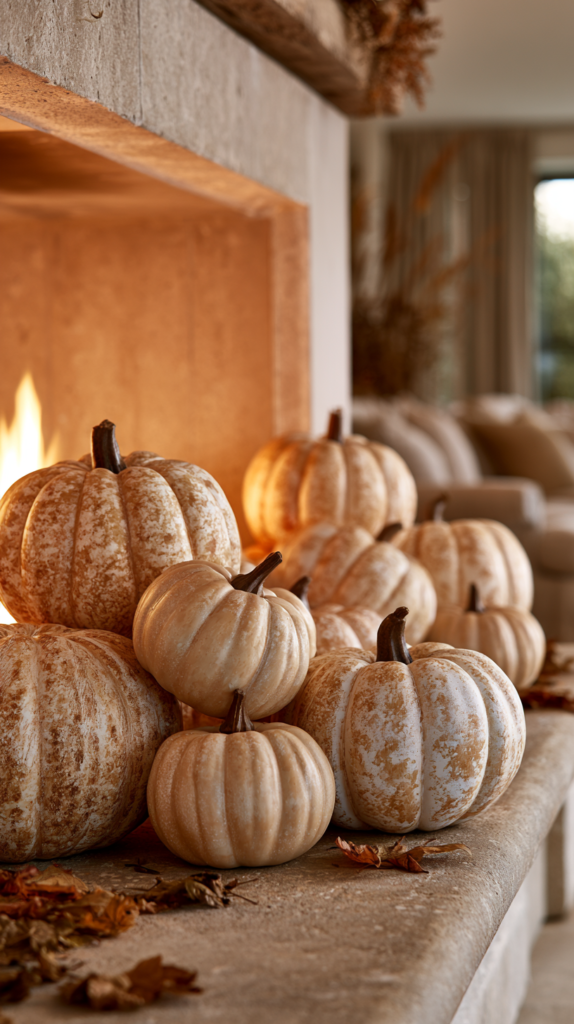
A real pumpkin never sits alone in a sterile little cluster on a mantel. It sits in dirt, or in a pile with other pumpkins, or half-buried in leaves, or resting slightly crooked because the ground under it wasn’t flat.
Faux pumpkins get arranged in perfect little rows. Faced forward. Evenly spaced. Like soldiers.
That’s the tell. Not the plastic. The posture.
Once I understood that, everything changed.
Start With the Stem, Because That’s Where Eyes Go First
I didn’t realize this until I actually sat down and looked at photos of real pumpkins next to photos of faux ones.
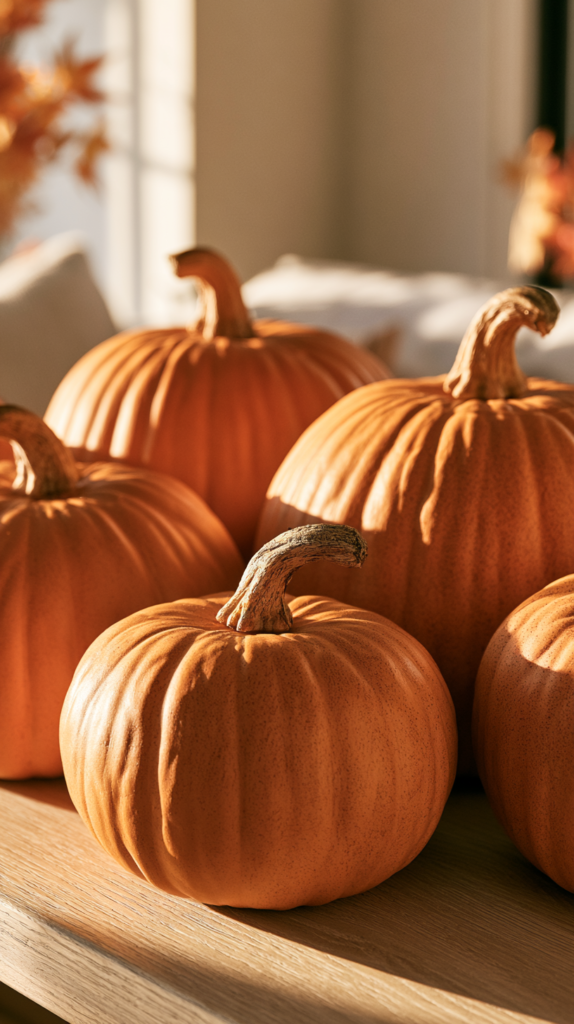
Your eye goes to the stem first. Every single time.
Real pumpkin stems are irregular. They’re woody. They curve in unpredictable directions. Some are thick and stubby. Some are long and twisted like a corkscrew. No two look alike, even on pumpkins from the same vine.
Faux pumpkin stems, especially on cheaper ones, are uniform. They’re often a slightly wrong shade of green or brown. They stick straight up like a little handle, because that’s easier to mold.
The fix here is almost embarrassingly simple.
Buy real stems separately, or salvage them from actual pumpkins you’ve already used and composted. Push them into the faux pumpkin’s existing stem hole, or drill a small hole if there isn’t one.
I keep a small bin of dried real pumpkin stems in my garage now. I collect them every year from pumpkins I’ve actually cooked or carved, let them dry out for a few weeks, and reuse them season after season on my faux pumpkins.
This one swap did more for my displays than anything else on this list. More than paint. More than texture treatments. Just the stem.
If you can’t source real stems, at least look for faux pumpkins that come with removable, more naturalistic stems, and consider giving them a light wash of brown and green craft paint to break up any uniform color.
Texture Matters More Than Color
Most cheap faux pumpkins have a shiny, slightly plasticky surface.
That shine is the second biggest giveaway after the stem.
Real pumpkins are matte. Even the waxy-looking varieties have a duller, more organic sheen than injection-molded plastic ever will.
There are a few ways to fix this.
The simplest is a matte spray sealant. You can buy matte finish spray at any craft store, and a light, even coat over a glossy faux pumpkin will kill most of that plastic shine within minutes.
I do this to every single faux pumpkin I buy now, before it even goes outside. It’s a five minute step and it changes the entire visual impression.
The second option, if you want to go further, is a light sanding. A fine grit sandpaper, rubbed gently over the surface, breaks up the smoothness and gives the plastic a bit of tooth. This works especially well on the foam-based faux pumpkins rather than the harder plastic ones.
The third option is texture paint. Some crafters mix a bit of joint compound or a texture medium into craft paint and dab it on in uneven patches, mimicking the slightly bumpy, imperfect skin of a real pumpkin. This takes more time, but it’s genuinely convincing if you do it well.
I’ve done all three at different points. Honestly, the matte spray alone gets you eighty percent of the way there for almost no effort.
Color Variation Is Not Optional
Real pumpkins are never one flat, uniform color.
Look closely at an actual pumpkin sometime. There are darker patches where it sat against soil. Lighter streaks where the sun hit it more directly. Faint bruising, faint discoloration, subtle shifts from deep orange to a paler cream in places.
Most faux pumpkins come in one flat, even color straight out of the box.
This is fixable, and it’s one of my favorite parts of the whole process now.
I use craft paint in a few complementary shades. A darker burnt orange or rust for shadowed areas. A lighter cream or pale yellow for highlighted areas. Sometimes a touch of brown for the areas near the base, mimicking where a pumpkin would have rested against dirt.
I don’t paint the whole pumpkin. I dry brush, meaning I load very little paint onto the brush, wipe most of it off on a paper towel, and then lightly drag the brush across the ridges of the pumpkin. This catches on the raised ribbing and leaves the recessed grooves mostly untouched, which is exactly how light and shadow would naturally fall on a real pumpkin’s surface.
It takes maybe ten minutes per pumpkin. It’s oddly relaxing, honestly. I do it with a coffee some Saturday morning in September every year, pumpkin by pumpkin, while a podcast plays in the background.
The result is a faux pumpkin with genuine depth and variation, instead of one flat orange blob.
Buy Ugly Ones on Purpose
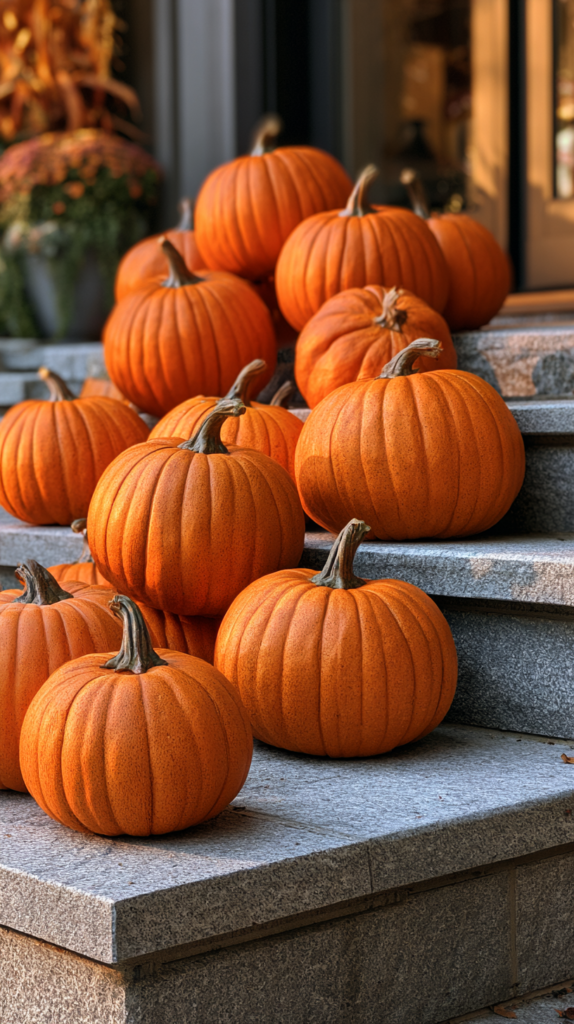
This took me the longest to learn, and it’s counterintuitive if you’re shopping the way most people shop.
Most people, when buying faux pumpkins, look for the most perfect, symmetrical, evenly colored one on the shelf.
That instinct is exactly backwards.
Real pumpkins are never perfectly symmetrical. They lean. They have flat spots. They have slightly lopsided lobes, a stem set slightly off-center, a subtle dent where a bug got to it early in the growing season.
When you’re shopping for faux pumpkins now, I actively look for the “flawed” ones. The ones with an asymmetrical shape. The ones with a slightly wonky stem. The ones that aren’t perfectly round.
If your local store only stocks the perfect uniform ones, that’s fine too. You can create asymmetry yourself.
For foam pumpkins specifically, you can gently press and reshape sections of the foam with your hands, especially if you warm it slightly first with a hair dryer on low heat. This softens the foam just enough to reshape a lobe, flatten one side slightly, or create a subtle dent.
I did this to about half my collection last year and it made a genuinely noticeable difference in photos. People who’d seen my porch every year suddenly started asking where I was buying “real” pumpkins from.
Weight and Placement Give You Away Faster Than Anything
Here’s something I didn’t expect to learn, but it turned out to matter enormously.
Faux pumpkins are light. Absurdly light, in the case of the foam ones.
That lightness doesn’t just matter for handling. It changes how the pumpkin sits, and your eye can somehow tell, even if you can’t articulate why.
A real pumpkin, with real weight, settles into whatever surface it’s on. It compresses grass slightly. It nestles down into soil or mulch or a pile of straw. It has a very slight give at the point where it makes contact with the ground.
A hollow faux pumpkin just sits there, perched, weightless, looking like it’s floating slightly above whatever surface it’s on.
The fix is to give your faux pumpkins actual contact and actual context.
I nestle mine into things now, rather than just setting them down. A bed of real straw. A scattering of dried leaves. A shallow depression I’ve made in a pile of mulch. Anything that creates the illusion of the pumpkin settling into its surroundings rather than sitting on top of them.
For a porch step display, I’ll tuck the base of each pumpkin slightly behind a scattering of gourds, corn husks, or other seasonal filler, so the eye reads the pumpkin as part of a scene rather than an object placed on an empty surface.
This single shift, from “placed on” to “nestled into,” might be the second most impactful change on this whole list, right behind the stems.
Mix Faux With Real, Every Single Time
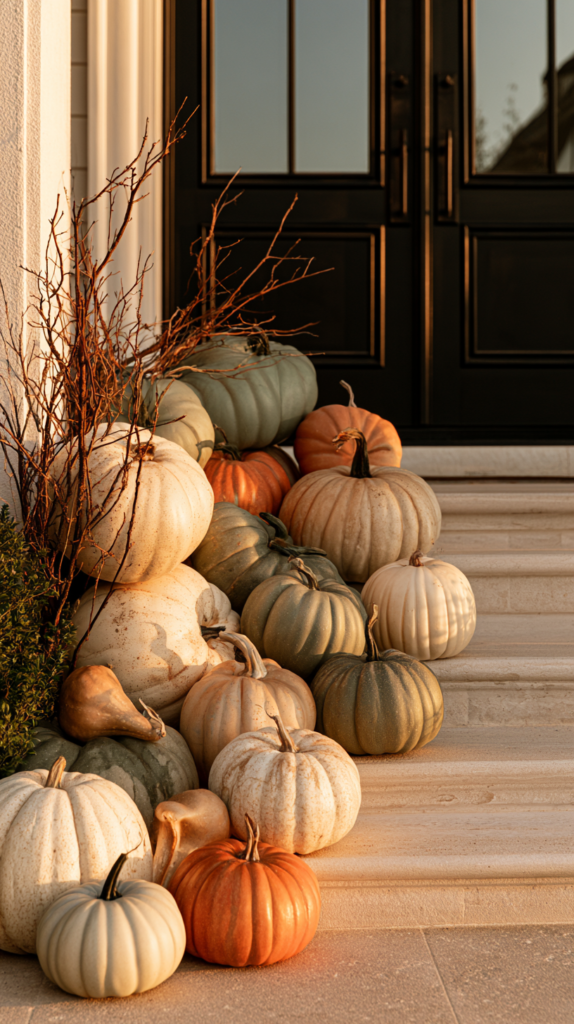
I almost never do an all-faux display anymore.
Every arrangement I put together now includes at least a few real elements mixed in with the faux pumpkins. Real gourds. Real dried corn stalks. Real branches. Sometimes even a genuine small pumpkin or two, tucked in among the faux ones.
There’s a reason this works so well, beyond the obvious.
When real and faux elements sit next to each other, your brain does something interesting. It uses the real objects as a kind of visual anchor, a reference point for scale, color, and texture. If the faux pumpkins are styled well, your eye tends to extend the same “real” assumption to them too, almost by association.
It’s a bit like how a convincing forgery often hangs better next to a genuine piece than alone in isolation. Context does a lot of the work your eye would otherwise do on its own.
I usually buy two or three genuinely real pumpkins each year, specifically to mix into my larger faux collection, purely for this reason. They cost very little, and they do an outsized amount of work convincing people the whole display is real.
Group in Odd Numbers, Never in a Row
This is a basic design principle, but it applies with unusual force to pumpkins specifically.
Pumpkins in nature grow in clusters, at uneven distances, at uneven angles, never in a neat row.
Whenever I see a porch with three identical faux pumpkins lined up evenly on the top step, evenly spaced, all facing the same direction, I know instantly they’re fake before I even get close enough to touch them.
The fix costs nothing. It’s purely arrangement.
Group pumpkins in clusters of three, five, or seven. Vary the distance between them. Turn some at slightly different angles, so not every stem faces the same direction. Overlap them slightly where it makes sense, the way pumpkins in an actual patch overlap each other’s vines and leaves.
I also vary height constantly now. A taller pumpkin propped slightly, or a smaller one set on an overturned crate or a stack of flat stones, breaks up the flat, uniform line that gives away a staged display instantly.
Real growing things are never evenly spaced. The moment you introduce genuine irregularity into your arrangement, the whole thing reads as more believable, almost regardless of what individual pumpkins look like up close.
Lighting Changes Everything, and It’s Nearly Free
I underestimated lighting for the first two years I did this.
Direct, flat, overhead light is unflattering to almost everything, and faux pumpkins are no exception. Flat light shows every seam, every uniform color patch, every bit of unnatural shine.
Warm, angled, low light does the opposite. It creates shadow in the ribbing grooves, highlights on the raised ridges, a play of light and dark that closely mimics how the sun would actually hit a real pumpkin sitting outside at dusk.
I now light almost every pumpkin display with small warm-toned string lights or a few battery-operated candles nestled nearby, rather than relying on a porch’s main overhead fixture.
The warm color temperature alone does a lot of work. Cool, blue-white light exaggerates the flatness and shine of cheap plastic. Warm, amber-toned light softens all of that considerably.
I’ve also started angling my displays specifically to catch natural late-afternoon sun at a low angle, since that’s when the ribbing shadows read most convincingly, closest to how a real pumpkin looks in a golden-hour photograph.
This costs almost nothing if you already own a strand of warm string lights. It might be the single highest return, lowest effort change on this entire list.
Add Dirt, Or at Least the Suggestion of It
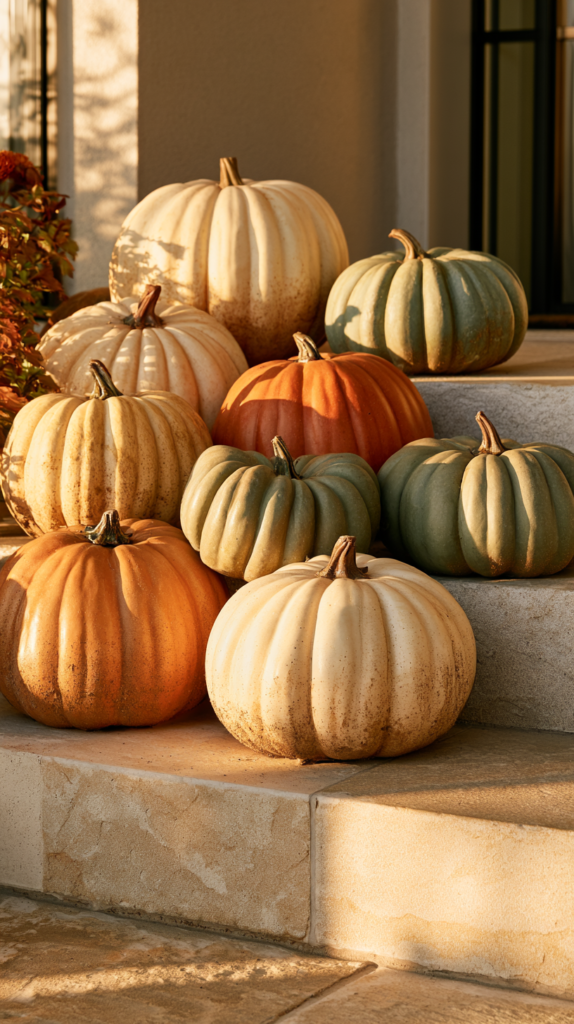
This one feels a little silly to admit, but it works.
Real pumpkins, picked from a patch, almost always carry a bit of actual dirt on their base and sometimes streaked faintly up their sides.
I keep a small container of a very fine, dry potting soil specifically for this purpose now. Before I set out my faux pumpkins each fall, I rub a small amount of this dry soil lightly across the base of each one, and sometimes very lightly up a few of the lower ribs.
It brushes off if it gets excessive, so it’s forgiving to work with, and it takes maybe thirty seconds per pumpkin.
The effect, though, is disproportionate to the effort. A pumpkin with a faint dusting of soil at its base reads as something that recently came out of a field. A pristine, spotless pumpkin, however well painted otherwise, always reads slightly too clean.
I do the same thing with a light dusting of very fine dry clay-colored powder pigment on pumpkins destined for an all-white or cream display, since that dusty patina reads as age and authenticity regardless of the pumpkin’s actual color.
Vary Your Sizes More Than You Think You Should
Most faux pumpkin sets sold in stores come in two or three sizes, and most people buy roughly matched sets.
Real pumpkin patches don’t work that way. You’ll see enormous pumpkins next to tiny ones, misshapen medium ones scattered throughout, and everything in between, all growing within a few feet of each other on the same tangle of vines.
I intentionally buy across a much wider size range now than I initially would have thought made sense. A few very large faux pumpkins as anchors. A cluster of medium ones. A scattering of small ones, sometimes even the miniature decorative gourds, tucked into gaps between the larger pieces.
This dramatic size variation does two things at once. It looks more like an actual harvest, and it gives your arrangement genuine visual hierarchy, since the eye naturally moves from the larger anchor pieces down through the smaller supporting ones, the same way it would move through a real patch.
I also mix in a handful of actual gourds now, the warty, oddly shaped ornamental kind, specifically because faux versions of these are harder to find convincingly and real ones are inexpensive at almost any farm stand in the fall.
Consider the Season’s Actual Decay, Not Just Its Peak
Here’s a detail almost nobody thinks about.
Real pumpkins, left outside for the full autumn season, don’t stay pristine. They soften slightly. They develop the occasional soft spot. Their color deepens or fades depending on sun exposure. By late October, a real pumpkin patch display often looks noticeably different than it did on the first of the month.
Faux pumpkins never change. That permanence, oddly, becomes its own tell over the course of a season, especially if neighbors are watching your display evolve, or fail to evolve, over several weeks.
I’ve started deliberately “aging” my display slightly as the season progresses, to mimic this natural decline.
In early October, my pumpkins look their best. Freshly painted, freshly dusted, arranged at their most photogenic.
By late October, I’ll deepen some of the dry-brushed shadow areas slightly, add a bit more soil dust, maybe swap a few positions to suggest settling, and occasionally add a faux “soft spot” using a bit of darker brown paint dabbed unevenly on one side of a pumpkin, mimicking the beginning of real decay.
It sounds excessive written out like this, but it takes maybe twenty minutes total across the whole display, and it’s the difference between a display that looks static and fake by Halloween, and one that looks like it’s actually been sitting outside all season, aging the way a real patch would.
Skip the Uniform Orange Entirely If You Can
Modern faux pumpkins increasingly come in a wide range of colors beyond traditional orange, and I think this range, used well, is one of the biggest advantages faux pumpkins actually have over real ones.
Heirloom pumpkin varieties come in cream, pale blue-green, deep charcoal, mottled combinations of several colors at once. These varieties exist in nature, but they’re harder and more expensive to find as actual real pumpkins in most areas.
Faux versions of these heirloom colors are widely available now, often at a lower cost than the traditional orange faux pumpkin, since orange remains the most commonly mass-produced default.
Mixing in these less common colors does two things. It looks more sophisticated and considered, since a display of only traditional orange increasingly reads as the default, mass-market choice. And it also, somewhat counterintuitively, makes the whole arrangement look more believable, since a genuinely gathered harvest display would naturally include this kind of varietal range rather than a uniform, single-variety look.
My favorite arrangements now lean heavily on cream, pale sage green, and a deep near-black charcoal, with just a few traditional orange pumpkins mixed in as accents rather than the dominant color.
Don’t Forget the Underside
Almost nobody checks the bottom of a faux pumpkin before buying it, and almost every cheap one has a flat, obviously molded, sometimes even hollow-looking base with a visible seam or manufacturing mark.
This matters more than you’d think, specifically because pumpkins get picked up, moved, and repositioned constantly during the season, by kids, by guests, by you adjusting the display.
Every time someone lifts a faux pumpkin and sees an obviously fake, flat plastic underside, the illusion breaks completely, all at once, for that person specifically.
I now do a quick pass on the underside of every faux pumpkin I buy. A light coat of brown paint across the base, sometimes with a bit of the same dry soil dusting mentioned earlier, closes this gap. It takes about a minute per pumpkin and it means the display holds up even under direct handling and close inspection.
Real Pumpkins Have Faint Ridges of a Different Color at the Base
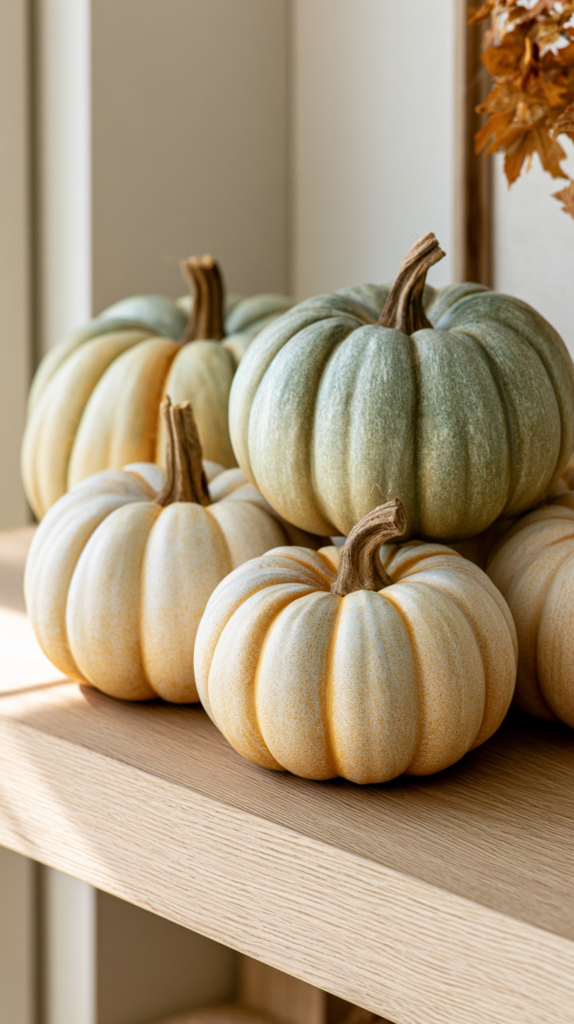
This is a small detail, but it’s the kind of thing that separates a genuinely convincing faux pumpkin from a merely decent one.
If you look closely at a real pumpkin’s base, right where the ribbing converges at the bottom, there’s often a slightly different coloration in that convergence point. Sometimes paler, sometimes more yellow, occasionally with a faint greenish tint if the pumpkin was picked slightly before full ripeness.
I add a small amount of this detail now with a fine brush, a tiny dab of a contrasting color right at the base where the ribs meet, blended gently into the surrounding paint.
It’s a detail most people will never consciously notice. But it’s exactly the kind of subtle, specific realism that makes the difference between a display that looks “pretty good” and one that genuinely fools people until they touch it.
The Full Process, Start to Finish
Here’s roughly what my actual process looks like now, pumpkin by pumpkin, each September.
I start by buying faux pumpkins in a range of sizes and, increasingly, a range of colors beyond just orange, specifically looking for any with slightly asymmetrical shapes already built in.
I remove any obviously fake stems and replace them with real, dried pumpkin stems saved from the previous year, or from pumpkins I’ve cooked earlier in the season.
I give every pumpkin a light coat of matte spray sealant, letting it dry fully before moving to the next step.
I dry brush a darker rust or brown shade into the recessed ribbing grooves, and a lighter cream shade onto the raised ridges, working section by section around each pumpkin.
For a few pumpkins destined for close-up display spots, I add the small base detail where the ribs converge, and sometimes a very subtle “soft spot” of discoloration on one side.
I paint the underside of each pumpkin a mottled brown, since this is the part most likely to be seen when someone lifts or moves the pumpkin.
I dust the base of each pumpkin lightly with dry soil or pigment powder, brushing off any excess.
Finally, I arrange everything in uneven clusters of odd numbers, varying height and angle throughout, mixing in a few genuinely real pumpkins, gourds, and dried corn stalks, and nestling the whole arrangement into straw, mulch, or leaves rather than setting anything on a bare, flat surface.
I finish with warm-toned lighting nearby, angled low rather than overhead.
The whole process, across a dozen or so pumpkins, takes me most of a Saturday afternoon now. It used to take twenty minutes to set out a store-bought display that fooled absolutely nobody.
Why Any of This Actually Matters
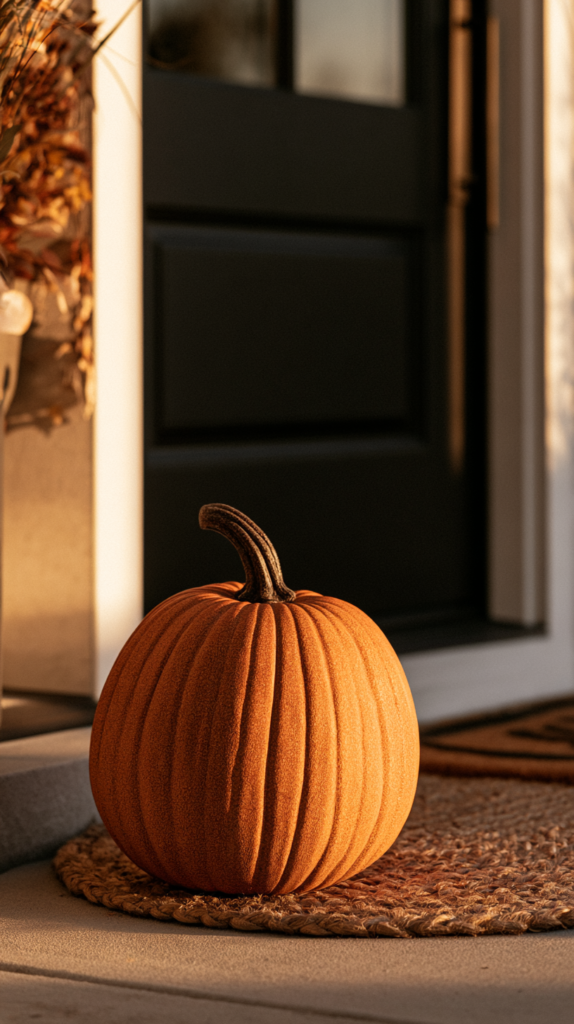
I think about that neighbor from three years ago sometimes, picking up my hollow plastic pumpkin and feeling exactly how fake it was.
It wasn’t a big deal. Nobody was actually hurt by a bad fake pumpkin. But there was something a little deflating about putting effort into a seasonal display and having the effort undercut so immediately, so obviously, the moment anyone looked closely.
What I didn’t understand back then is that convincing faux pumpkins aren’t really about fooling anyone completely, forever. Someone determined enough will always eventually notice the pumpkin doesn’t weigh anything, or that it never seems to soften or spoil across the whole season.
What good styling actually does is buy you that first impression. It gives a display genuine visual credibility from across a yard, from a car driving past, from a photograph. It respects the effort of decorating by not undercutting itself with the most obvious, easily fixed tells.
And selfishly, it’s just more satisfying. A faux pumpkin display that actually looks considered, that has real depth and color variation and believable arrangement, is simply nicer to look at every single day of October than a row of shiny orange plastic shapes lined up like they’re waiting for inspection.
That neighbor still walks past my porch every fall. She hasn’t asked if my pumpkins are real again in three years.
I choose to take that as a compliment.